A hardwood floor should announce itself through its grain, warmth, and quiet solidity – not with a sharp chirp each time someone crosses the room. To repair squeaky hardwood floors well, the first task is not reaching for a screw or lubricant. It is identifying exactly where two parts of the floor assembly are moving against one another.
That distinction matters. A squeak may come from a loose board, but it can also originate below the finished floor: a subfloor shifting on a joist, a nail working loose, or seasonal movement that has tightened an old plank against its neighbor. The visible board is often only where the sound escapes.
Why hardwood floors squeak
Wood is a living material, even after it has been milled, installed, stained, and finished. It takes on and releases moisture as indoor conditions change. In the D.C. Metro area and along Maryland’s Eastern Shore, humid summers and dry heated winters can create noticeable seasonal movement, especially in older homes and wide-plank floors.
A small amount of seasonal sound is not always a sign of failure. A brief squeak that appears during the driest weeks of winter and fades when humidity returns may be a manageable response to normal wood movement. A persistent squeak, a growing soft spot, or movement underfoot deserves a closer look.
The most common causes are straightforward, although the proper repair is not always simple:
- A flooring nail or staple has loosened and rubs as the board flexes.
- The subfloor has separated slightly from a floor joist.
- Two hardwood boards are rubbing at an edge, tongue, or end joint.
- A gap beneath the flooring allows a board or subfloor panel to flex under weight.
- Improper fastening, inadequate acclimation, or an uneven subfloor has created stress in the installation.
Historic homes add another layer of complexity. Their joist spacing may vary, their subfloors may be plank rather than plywood, and a century of repairs can leave multiple floor layers above or below the original structure. In those cases, a quick fix can easily create a more visible problem than the squeak itself.
How to repair squeaky hardwood floors: find the source first
Start by mapping the sound. Walk slowly across the area in clean socks or soft-soled shoes while another person listens from nearby. Mark the precise spot with a small piece of low-tack painter’s tape placed beside, not across, the suspected board.
Then vary the pressure. Does the sound occur only when weight lands near one edge? Does it disappear when you step in the center of the board? Does the floor feel springy, or is it solid but noisy? These small observations help distinguish board-to-board friction from movement in the subfloor assembly.
If there is access from below, such as through an unfinished basement or crawlspace, the diagnosis becomes far more reliable. Have one person walk above while another watches the joists and subfloor. Look for a gap opening between the subfloor and joist, a fastener moving, or a localized deflection. A flashlight, patient observation, and a second set of feet are often more useful than a large collection of tools.
Do not assume the sound is directly beneath the spot where it is heard. Sound travels through joists and subflooring. Check several feet in each direction before committing to a repair.
Check for moisture before tightening anything
Before adding fasteners, look for signs that moisture is involved. Cupped boards, dark staining, new gaps, raised edges, or a recent plumbing issue change the repair strategy. Securing a floor that is swollen from moisture can trap the problem in place and worsen damage as conditions shift.
If the floor has changed shape, not merely become noisy, address the source of moisture and allow the wood to stabilize. A flooring professional can measure moisture content in both the hardwood and subfloor to determine whether repair, drying time, or more extensive restoration is appropriate.
Repairs from below preserve the finished surface
When the framing is accessible, repair from below is generally the cleanest method. It protects the face of the hardwood, avoids unnecessary patching, and keeps original boards intact.
For a subfloor that has pulled away from a joist, a qualified installer may apply construction adhesive in the gap and carefully drive screws through the subfloor into the joist. The screw length must be selected with precision. It needs to secure the subfloor without penetrating the finished hardwood above.
A narrow wood shim can sometimes close a small gap between the joist and subfloor, but it should be fitted gently and secured with adhesive. Forcing a shim too tightly can lift the floor and create a ridge or a new squeak nearby. The goal is support, not pressure.
Where hardwood itself is moving, specialized breakaway screws may be used from below or, in select cases, through the floor from above. This is a detail-sensitive repair. The fastener must land in the right location, avoid splitting a board, and accommodate the floor’s construction. Solid hardwood, engineered hardwood, reclaimed boards, and site-finished wide planks do not all respond the same way.
Surface repairs require a restrained hand
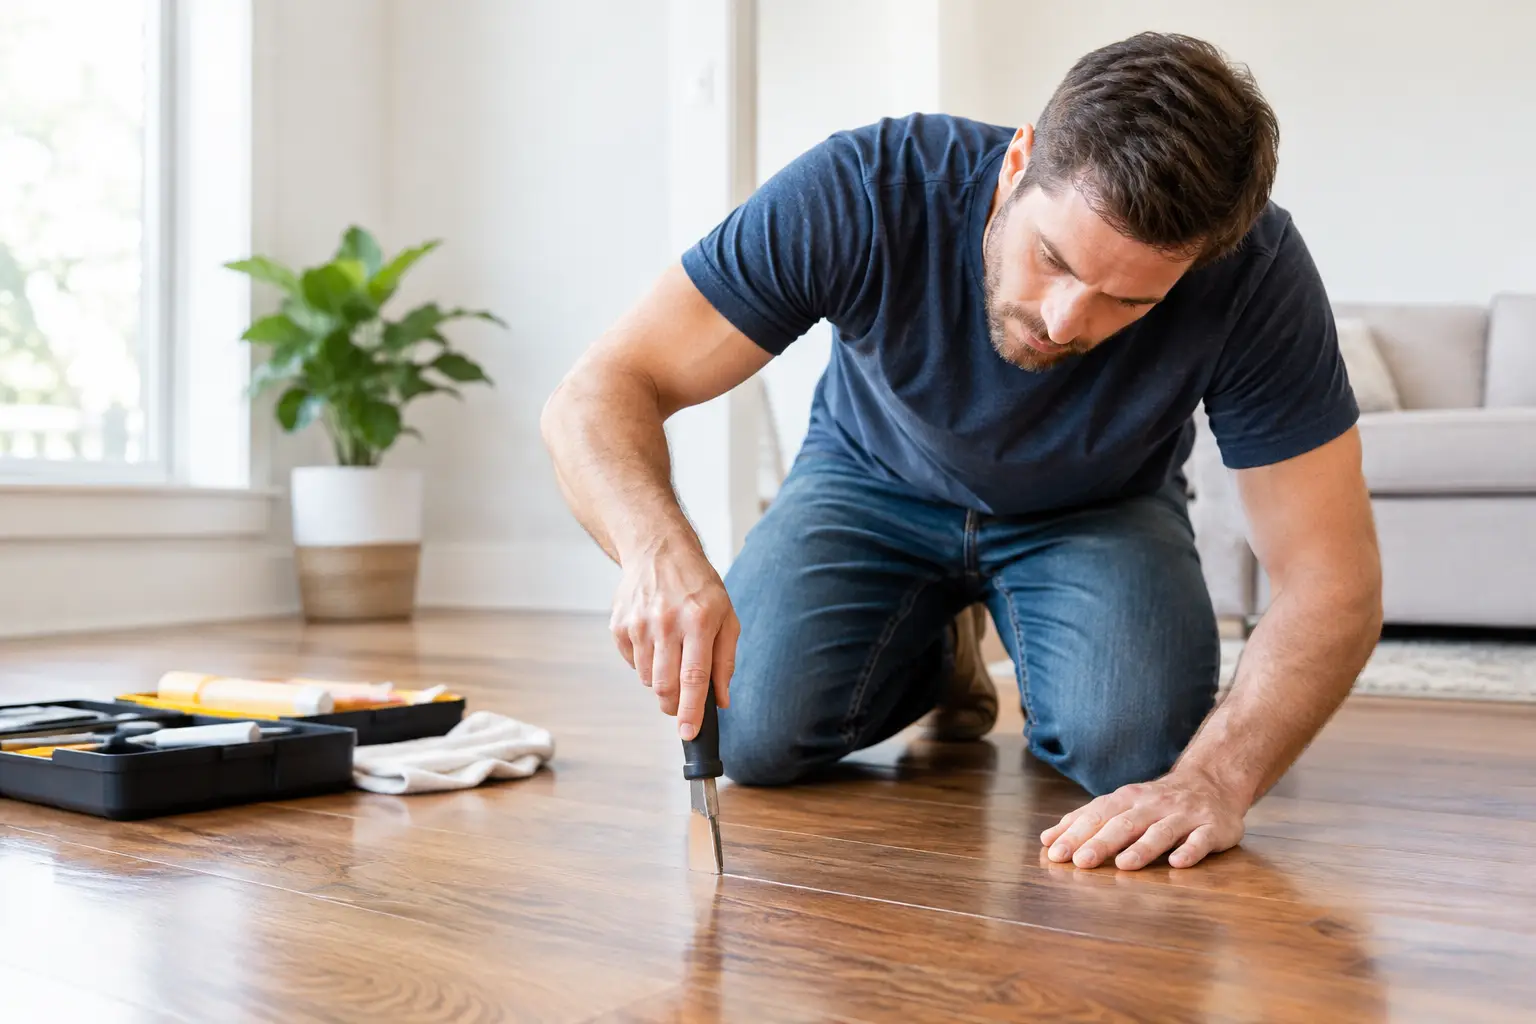
When there is no access from below, repairs become more visible and therefore demand more care. It may be possible to secure a loose board with a finish-matched fastener, set it below the surface, and fill the opening with a color-blended wood filler. On a floor with a natural character grade or a heavily textured finish, a well-executed repair may disappear. On a formal quarter-sawn oak floor or a clear maple floor, it may remain noticeable.
Powdered graphite, talc, and other dry lubricants are sometimes suggested for friction between boards. They can quiet a minor seasonal squeak, but they are not a structural repair. They may also settle into open grain, finish seams, or bevels, leaving dark residue that is difficult to remove. Use them sparingly, if at all, and never treat them as a solution for a floor that flexes.
Avoid spraying oils, silicone products, or household lubricants into hardwood joints. These products can stain wood, interfere with future refinishing, attract dirt, and complicate professional repair. A beautiful floor is an assembly of wood, fasteners, subfloor, and finish. Introducing an unknown substance into that assembly is rarely worth a temporary reduction in noise.
When a squeak points to a larger flooring issue
A single squeak near a doorway may be an isolated fastening issue. A broad area of noisy, soft, or shifting flooring is different. It can signal inadequate subfloor preparation, joist deflection, failed adhesive, water damage, or flooring installed without proper expansion space.
Watch for squeaks accompanied by these conditions: boards lifting at edges, cracks opening between planks, recurring seasonal gaps that are unusually wide, staining near exterior walls, or a noticeable change in floor level. These symptoms deserve professional evaluation before cosmetic repairs are attempted.
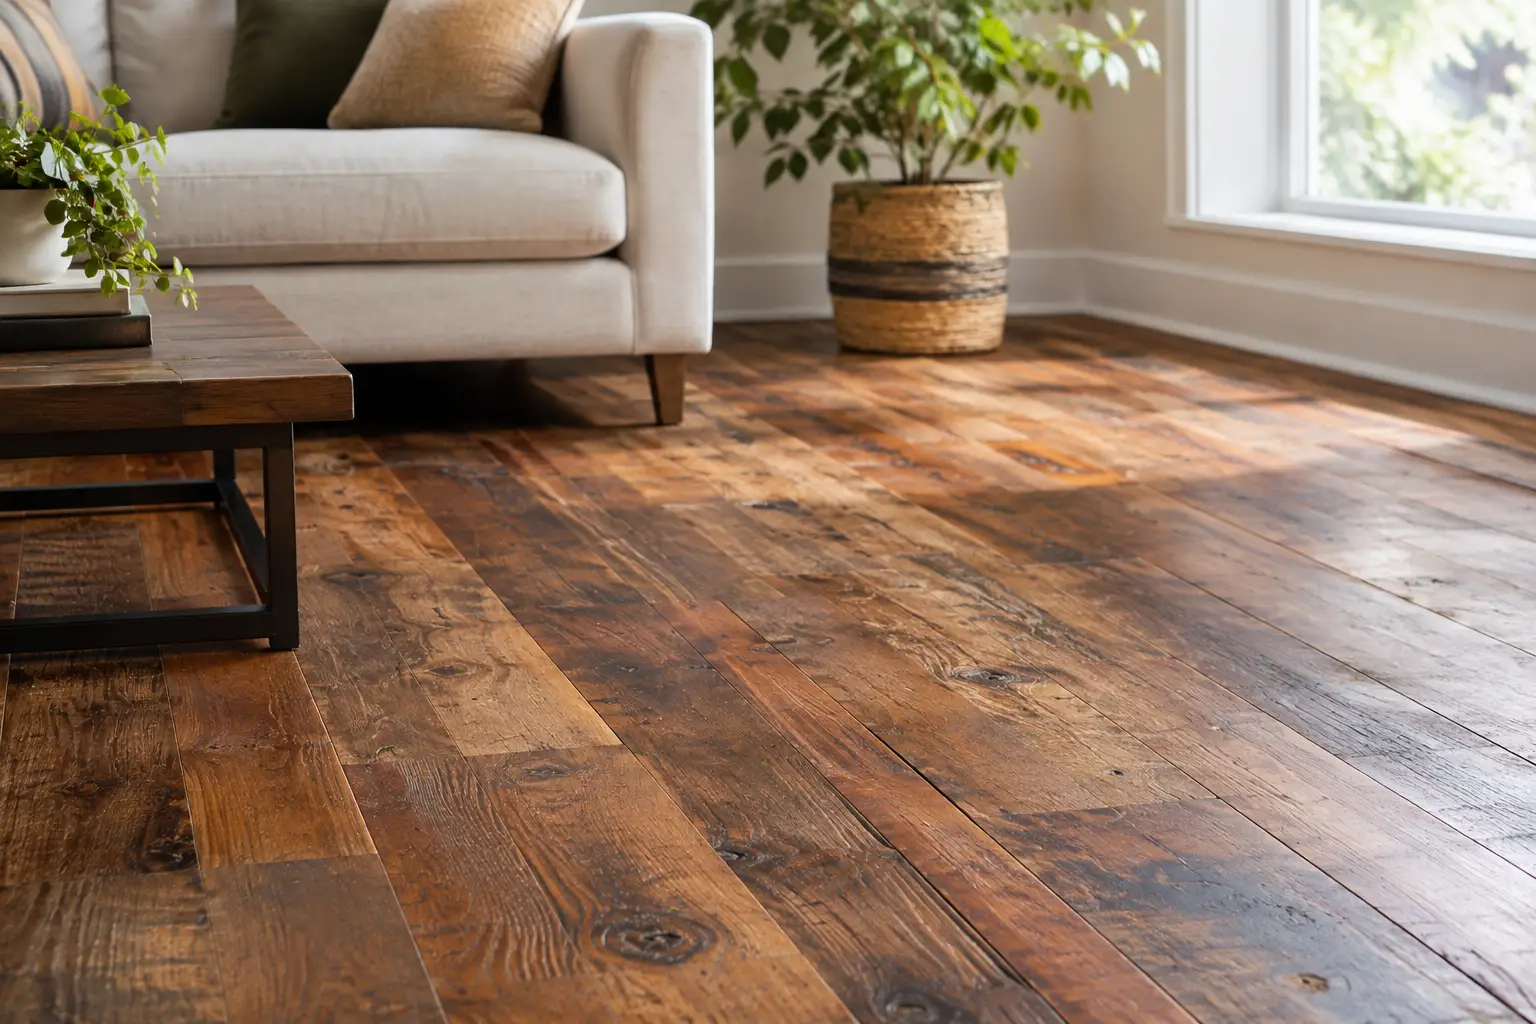
This is especially true with reclaimed lumber and antique flooring. Their irregular widths, aged patina, and original milling are part of their value. A repair should preserve that character, not replace it with mismatched new material or a line of conspicuous screw heads. In some cases, selective board removal and subfloor correction is the more careful long-term choice.
Prevent future squeaks with stable conditions
Many squeaks can be reduced by maintaining stable indoor humidity, generally in the range recommended for hardwood flooring in your home. A humidifier may help during a dry winter, while proper air conditioning and dehumidification can limit summer swelling. Consistency matters more than chasing a perfect number.
Place protective pads under furniture, clean grit promptly, and address spills before moisture reaches board edges. These habits will not correct a loose subfloor, but they preserve the finish and help reveal changes in the wood before they become expensive repairs.
For a new installation or major renovation, the best prevention happens before the first board is laid. Proper subfloor flatness, moisture testing, acclimation, fastening schedules, and expansion planning are quiet details that support a floor for decades. They are also the details that separate a handsome installation on day one from a floor that continues to perform beautifully through changing seasons.
A squeak is often a small mechanical message from a floor that has served the home well. Listen to it carefully, protect the visible wood, and choose a repair that respects both the structure beneath and the craftsmanship above.