A beautiful hardwood floor can be selected with great care, finished in exactly the right color, and installed with precision – yet still fail to perform if the surface beneath it was treated as an afterthought. This flooring subfloor preparation guide explains the work that protects a premium floor from gaps, movement, moisture damage, and premature wear long after installation day.
For homeowners investing in wide-plank oak, reclaimed wood, or a custom hardwood finish, preparation is not a hidden line item. It is the foundation of the finished floor’s stability, comfort, and enduring character.
What Subfloor Preparation Really Determines
The subfloor is the structural layer beneath the finished flooring. In many homes, it is plywood or oriented strand board over wood joists. In basements, additions, condos, and slab-on-grade homes, it may be concrete. Each calls for a different installation strategy, but the objective is the same: create a clean, dry, sound, and acceptably flat surface for the flooring system.
A subfloor does not need to be perfectly level for hardwood to perform well. It does need to be flat within the tolerances specified by the flooring manufacturer. Level describes whether a surface is parallel to the horizon. Flatness describes peaks and dips across the surface. A floor may be slightly out of level throughout a historic home and still provide an excellent base for hardwood. Localized humps, hollow spots, and abrupt changes in elevation are the real concern.
When those irregularities are ignored, boards can flex underfoot, fasteners can lose their hold, joints can open, and engineered flooring can telegraph imperfections through the finished surface. The result may look minor at first, but it can compromise the quiet, substantial feel homeowners expect from a finely installed wood floor.
Flooring Subfloor Preparation Guide: Begin With Inspection
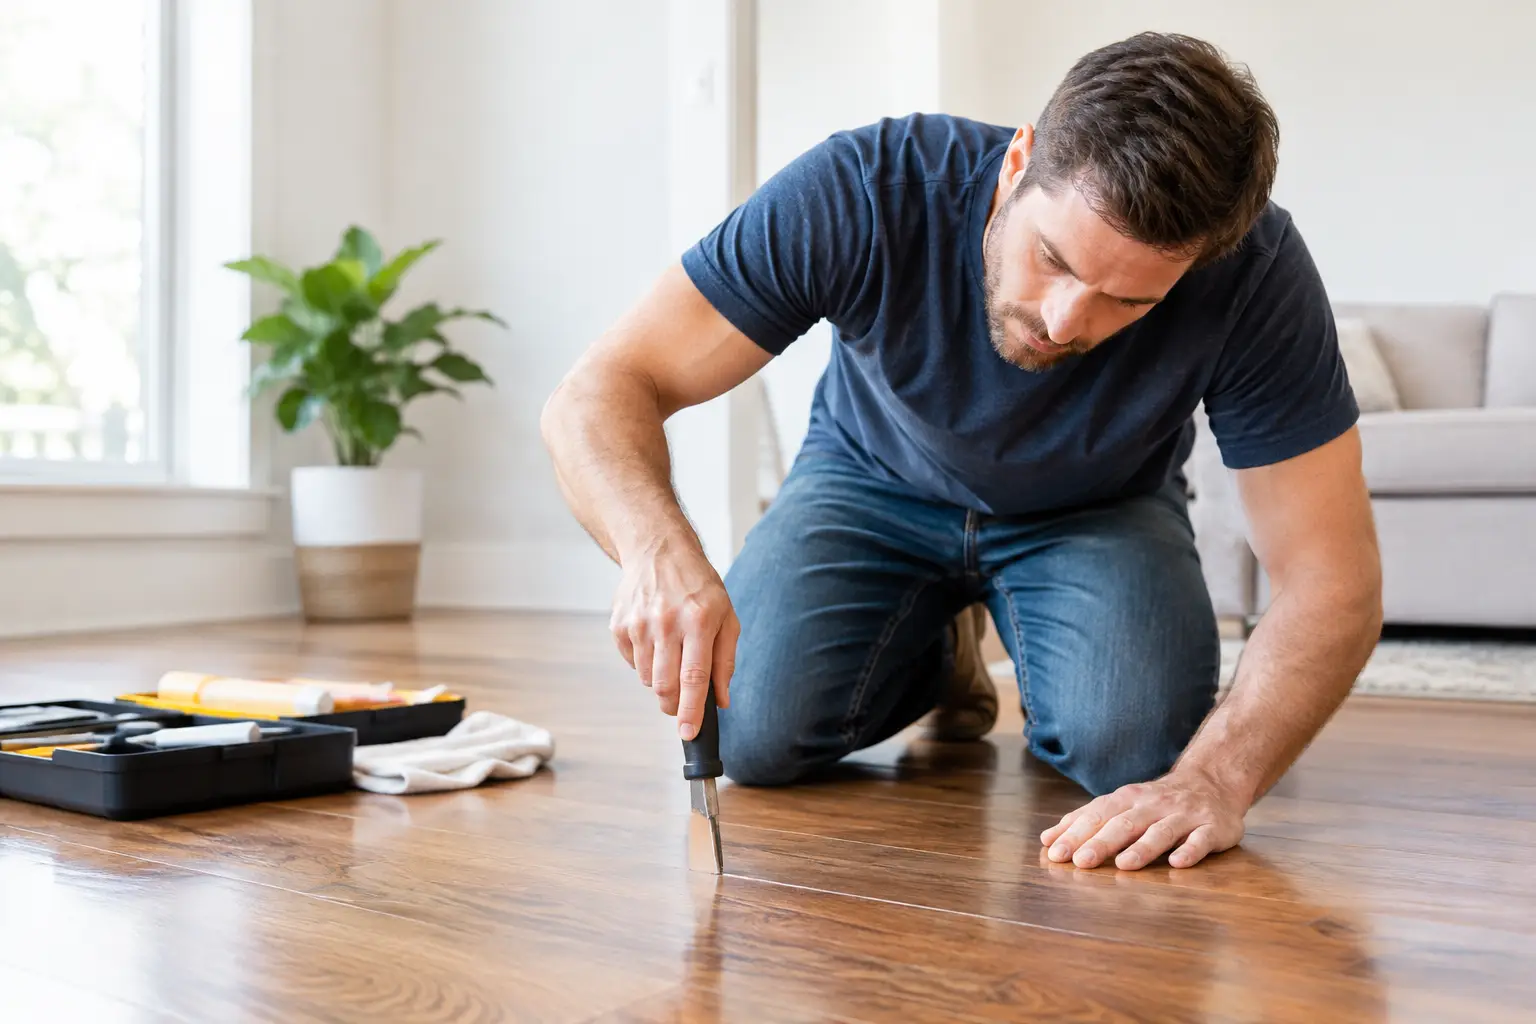
Preparation begins before demolition, delivery, or acclimation. A skilled installer studies the entire room and the adjacent spaces, not just the portion that will remain visible after furniture is returned. That inspection should identify moisture sources, structural movement, damaged materials, previous flooring layers, and transitions to other rooms.
Test moisture before choosing an installation method
Moisture is one of hardwood’s most persistent challenges. Wood responds to its environment, expanding when it absorbs moisture and contracting when conditions become drier. Concrete holds moisture differently than wood framing, which is why a method suitable for plywood may be unsuitable for a slab.
On concrete, professional testing may include relative humidity testing within the slab and calcium chloride testing at the surface. The appropriate results depend on the adhesive, moisture-control product, and flooring manufacturer. There is no responsible single number that applies to every floor. Adhesives and moisture barriers have specific limits, and those limits should guide the system selected.
On wood subfloors, readings should be compared with the flooring material itself. The goal is not simply to find a dry-looking surface. It is to verify that the subfloor and hardwood are reasonably compatible with the home’s normal living conditions. This is especially valuable in the Washington, D.C. Metro area, where humid summers and heated winter interiors place meaningful seasonal demands on natural wood.
Check flatness, movement, and fastening
Installers use a long straightedge or laser to locate high and low areas. Many hardwood products call for a surface that is flat within roughly 3/16 inch over 10 feet or 1/8 inch over 6 feet, though the product’s written specification always takes precedence.
The inspection should also reveal whether the subfloor is firmly attached to the joists. Squeaks, loose panels, water-damaged plywood, and delaminated areas should be corrected before new flooring conceals them. Adding screws at appropriate intervals can secure sound panels, but it cannot restore material that has lost structural integrity. Damaged sections should be replaced rather than covered over.
Remove what does not belong beneath the new floor
Old carpet pad staples, adhesive residue, protruding nails, paint buildup, and drywall compound can prevent a floor from sitting properly. Even a small protrusion can create a high point that affects a board’s fit. Existing resilient flooring may also require careful evaluation. Some materials should not be disturbed without proper testing and a safe removal plan, particularly in older homes.
A clean jobsite matters as much as a clean substrate. Dust and debris interfere with adhesive bond strength, make leveling work less accurate, and can become trapped beneath underlayment or flooring.
Correct the Surface, Not Just the Symptom
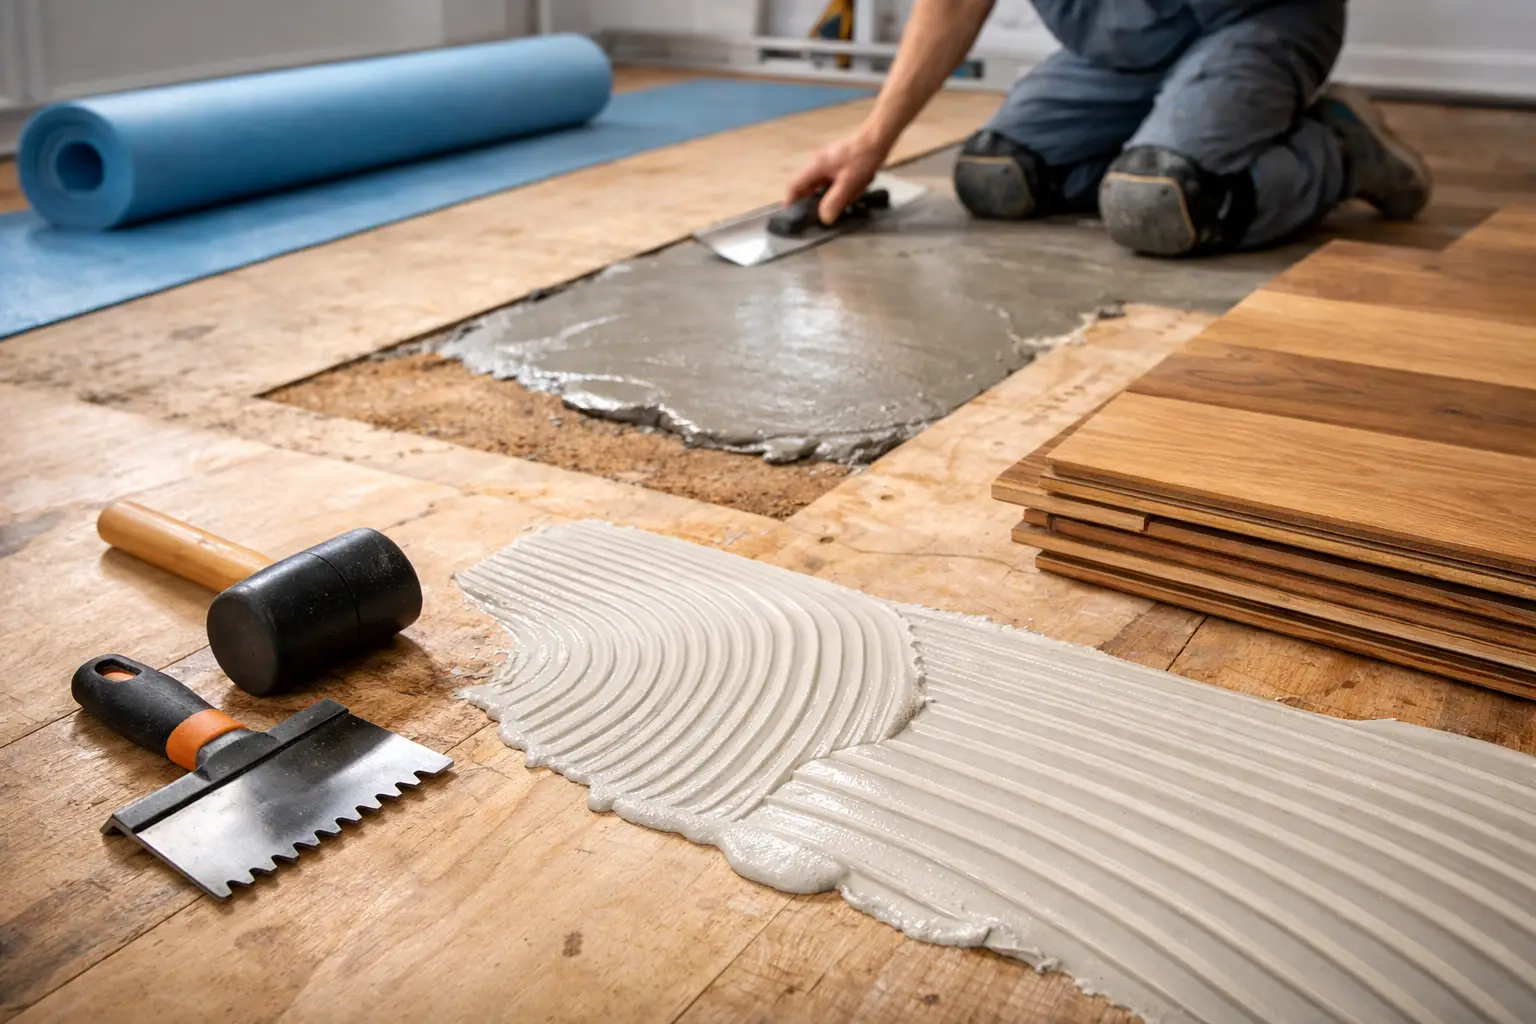
Once problems are identified, the correction should suit the substrate and flooring type. High areas in a wood subfloor may be sanded or planed carefully. Low areas may be filled with an approved patching or leveling compound rated for the intended installation. On concrete, installers may grind high spots and use compatible cement-based products to address low areas.
This work requires judgment. Aggressive sanding can weaken wood subfloor panels. Applying a leveling compound without proper surface preparation can lead to bond failure. Filling a dip without determining why it exists may conceal a framing issue that deserves attention first.
In older properties, a change in floor height may reflect years of settling, a past renovation, or undersized framing. It is not always a reason to halt a project, but it should be understood before expensive flooring is installed. Sometimes a measured transition is the right solution. In other cases, subfloor replacement, joist correction, or added plywood is warranted to create a stable plane.
Match Preparation to the Flooring System
Solid hardwood, engineered hardwood, and luxury flooring products do not share identical subfloor requirements. The selected material and installation method should shape the preparation plan from the outset.
Solid hardwood is commonly nailed or stapled over a suitable wood subfloor. It needs adequate thickness and fastening strength, along with careful attention to board direction and expansion space. Wide-plank solid flooring often demands even greater discipline because wider boards show subfloor variation more readily and move more noticeably with seasonal humidity.
Engineered hardwood can be installed by nail-down, glue-down, floating, or a combination method, depending on the product. It offers useful flexibility over concrete and in below-grade spaces, but it is not exempt from moisture control or flatness requirements. A floating floor, in particular, needs a properly prepared surface; it can amplify a hollow sound or movement when installed over pronounced lows and highs.
Glue-down installations demand special care. The concrete or approved substrate must be prepared according to the adhesive manufacturer’s directions, including moisture testing, surface profile, cleanliness, and cure times. Skipping one element of that system can put the entire floor at risk.
Acclimation Is Part of Preparation
Hardwood should not arrive in a home that is still wet from plaster, paint, masonry, or major mechanical work. The building must be enclosed, climate-controlled, and maintained near its expected living conditions before flooring is delivered. Acclimation is not simply leaving unopened cartons in a room for a prescribed number of days. It is a measured process based on the product’s moisture content, the subfloor reading, and the conditions the home will maintain after installation.
This distinction matters for custom materials and reclaimed wood. Reclaimed boards may carry exceptional visual depth, but their history, milling, and moisture condition require an experienced evaluation. The most memorable floors are not rushed into place. They are allowed to reach the right condition for the home they will serve.
Details That Protect the Finished Floor
Before installation begins, the crew should confirm door clearances, appliance openings, stair nosings, fireplace hearths, floor vents, and transitions to tile or stone. These details influence flooring height and layout. They are far easier to resolve before boards are installed than after a room is nearly complete.
Expansion space also deserves careful planning. Hardwood needs room at walls, fixed cabinetry, pipes, and other vertical obstructions so normal seasonal movement does not force boards upward. Baseboards and shoe molding can conceal the perimeter gap without restricting the floor. The exact allowance varies by product, board width, room dimensions, and manufacturer instructions.
For homes where quiet is a priority, underlayment choices can also matter. Some products provide moisture protection, sound reduction, or minor cushioning, but they are not a cure for a loose or uneven subfloor. Underlayment should complement proper preparation, never replace it.
The Value of a Craftsman-Led Approach
Subfloor preparation is often invisible in the finished photographs, which is precisely why shortcuts can be tempting. Yet the most successful hardwood installations are built on deliberate measurements, sound material decisions, and respect for the conditions of the home.
At Royal Oaks Flooring, that discipline is part of the craft. Whether restoring an older Maryland home or installing refined new hardwood in a custom space, the work begins by making sure the floor has the foundation it deserves. A properly prepared subfloor lets the grain, finish, and careful joinery take center stage – and gives the homeowner the confidence to enjoy that beauty for decades.