A hardwood floor rarely cups without giving you a reason to look deeper. When board edges rise higher than their centers, the wood is responding to excess moisture beneath or within the floor. To fix floor cupping properly, the first task is not sanding or replacing boards. It is identifying where that moisture came from and allowing the floor to return to balance.
For homeowners who have invested in fine oak, wide-plank flooring, reclaimed lumber, or a custom finish, that distinction matters. An aggressive repair can turn a temporary moisture condition into permanent damage. A measured response protects both the structure of the floor and the character that made it worth choosing.
What Floor Cupping Looks Like
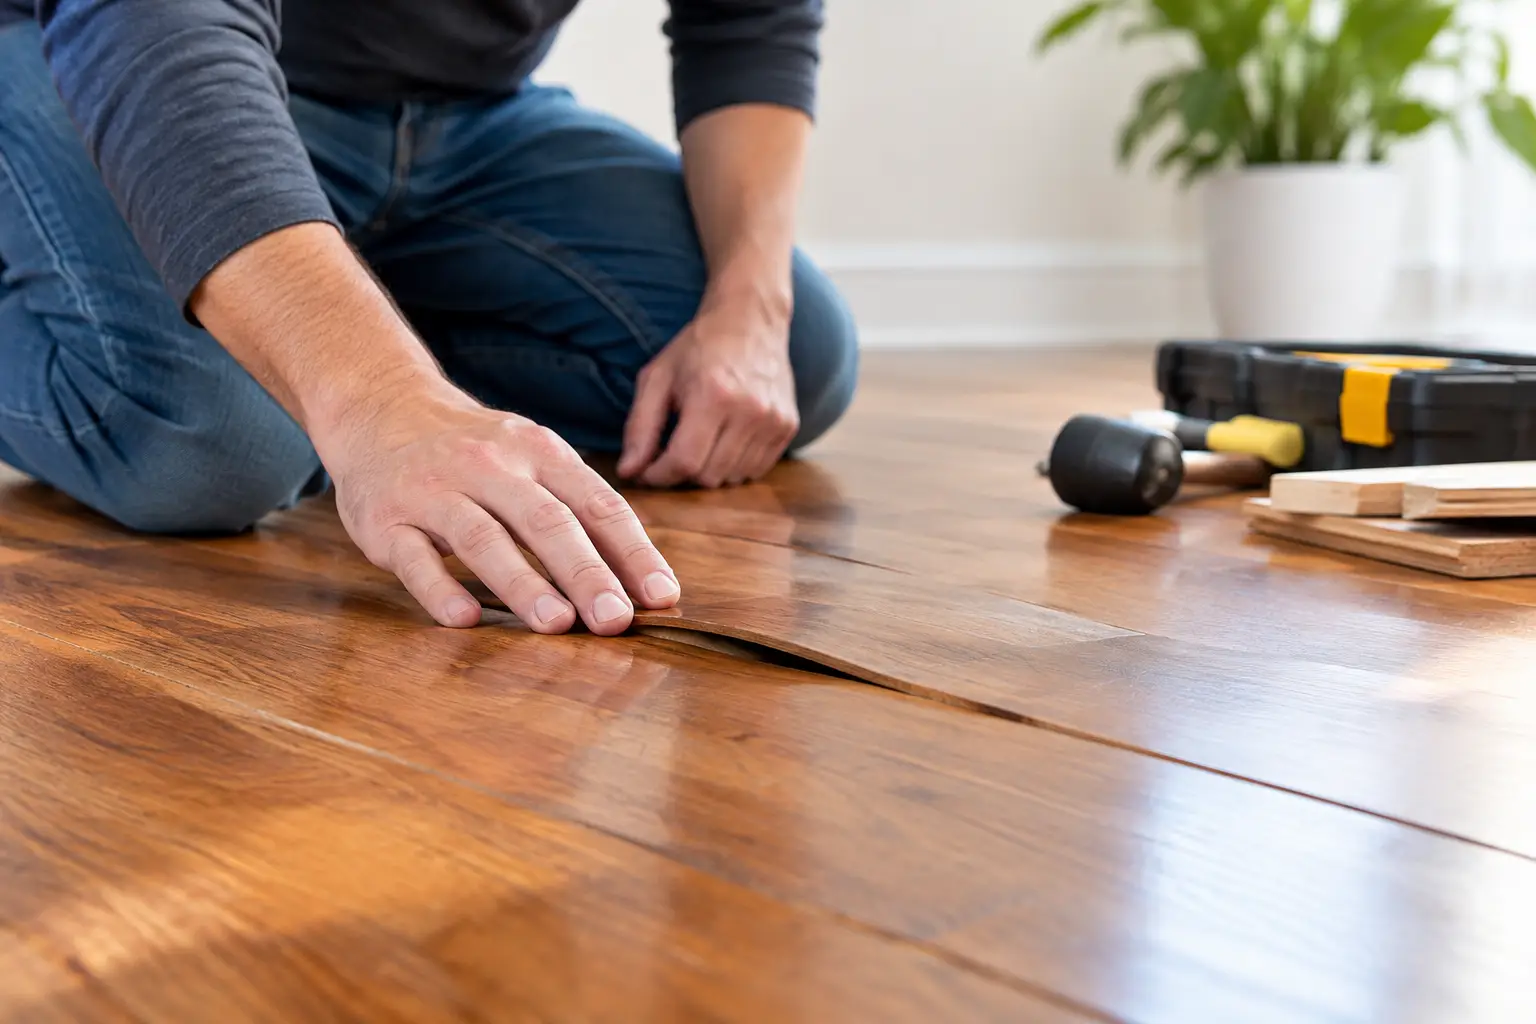
Cupping occurs when the edges of a hardwood board curl upward, creating a shallow concave shape across its width. You may notice that the floor feels rippled underfoot, catches light unevenly, or appears darker along the seams. In more pronounced cases, the edges can feel sharp enough to catch a sock or make furniture sit unevenly.
The condition is different from crowning, where the center of each board rises above the edges. Cupping generally means the underside of the wood is wetter than the face. Crowning can result from moisture on the surface or from sanding a cupped floor before it has dried. Telling the difference is essential before any corrective work begins.
Why Hardwood Floors Cup
Wood is hygroscopic, meaning it absorbs and releases moisture from the surrounding environment. As the bottom or edges of a board take on more moisture than the top, they expand. Because the boards are secured to the subfloor, that expansion has limited places to go, so the edges lift.
The source is not always obvious. In D.C.-area homes and on the Eastern Shore, seasonal humidity, crawl spaces, older foundations, and changes in HVAC operation can all affect a wood floor. Common causes include:
- A plumbing leak, appliance leak, or water intrusion near an exterior door
- Elevated moisture in a crawl space, basement, or concrete slab
- A room kept too humid, especially during a wet summer
- A spill or flooding event that was not dried thoroughly
- Inadequate acclimation, moisture testing, or vapor protection during installation
A single localized area of cupping often points to a leak or isolated water event. Cupping that appears across a broad room may signal a humidity issue, moisture moving up from below, or an installation condition that needs professional evaluation.
How to Fix Floor Cupping: Start With Moisture Control
The correct repair sequence is straightforward, but it requires patience. Stop the water source, dry the environment gradually, measure the flooring if possible, and only then determine whether restoration is needed.
Find and correct the source
Look beyond the visible boards. Check under sinks, around refrigerators and dishwashers, near patio doors, and along exterior walls. If the problem is above a basement or crawl space, inspect that area for damp soil, standing water, leaking ductwork, missing vapor barriers, or wet insulation.
With a concrete subfloor, moisture can move upward even when the surface appears dry. A flooring professional can use moisture meters to compare the wood, subfloor, and surrounding materials. This is far more reliable than judging the floor by appearance alone, particularly when the original source may have stopped weeks earlier.
Return the home to a stable humidity range
Once active water is eliminated, bring indoor conditions back to a consistent range. Most hardwood performs best when relative humidity is maintained roughly between 35% and 55%, though the ideal target depends on the species, installation method, and local conditions.
Run air conditioning during humid weather, use a properly sized dehumidifier where needed, and make sure HVAC registers are not blocked by rugs or furniture. In a crawl space or basement, professional moisture management may be necessary before the finished floor can stabilize. Avoid blasting wet flooring with high heat, which can dry the surface too quickly while leaving the lower portion damp and stressed.
Give the wood time to recover
Some cupped floors flatten substantially after they reach equilibrium with the home. This may take several weeks, and after a significant water event it may take longer. The timeline depends on the wood species, board width, finish, subfloor construction, and how much moisture entered the assembly.
During this period, resist the urge to sand raised edges. Sanding removes material from the high points while the boards are distorted. If the floor later flattens, those sanded edges can sit lower than the centers, creating a crowned profile that is difficult to correct without further refinishing.
When Sanding and Refinishing Make Sense
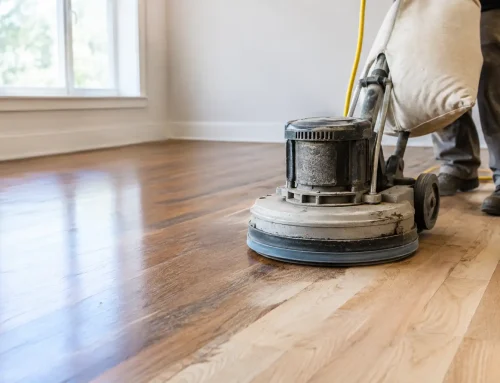
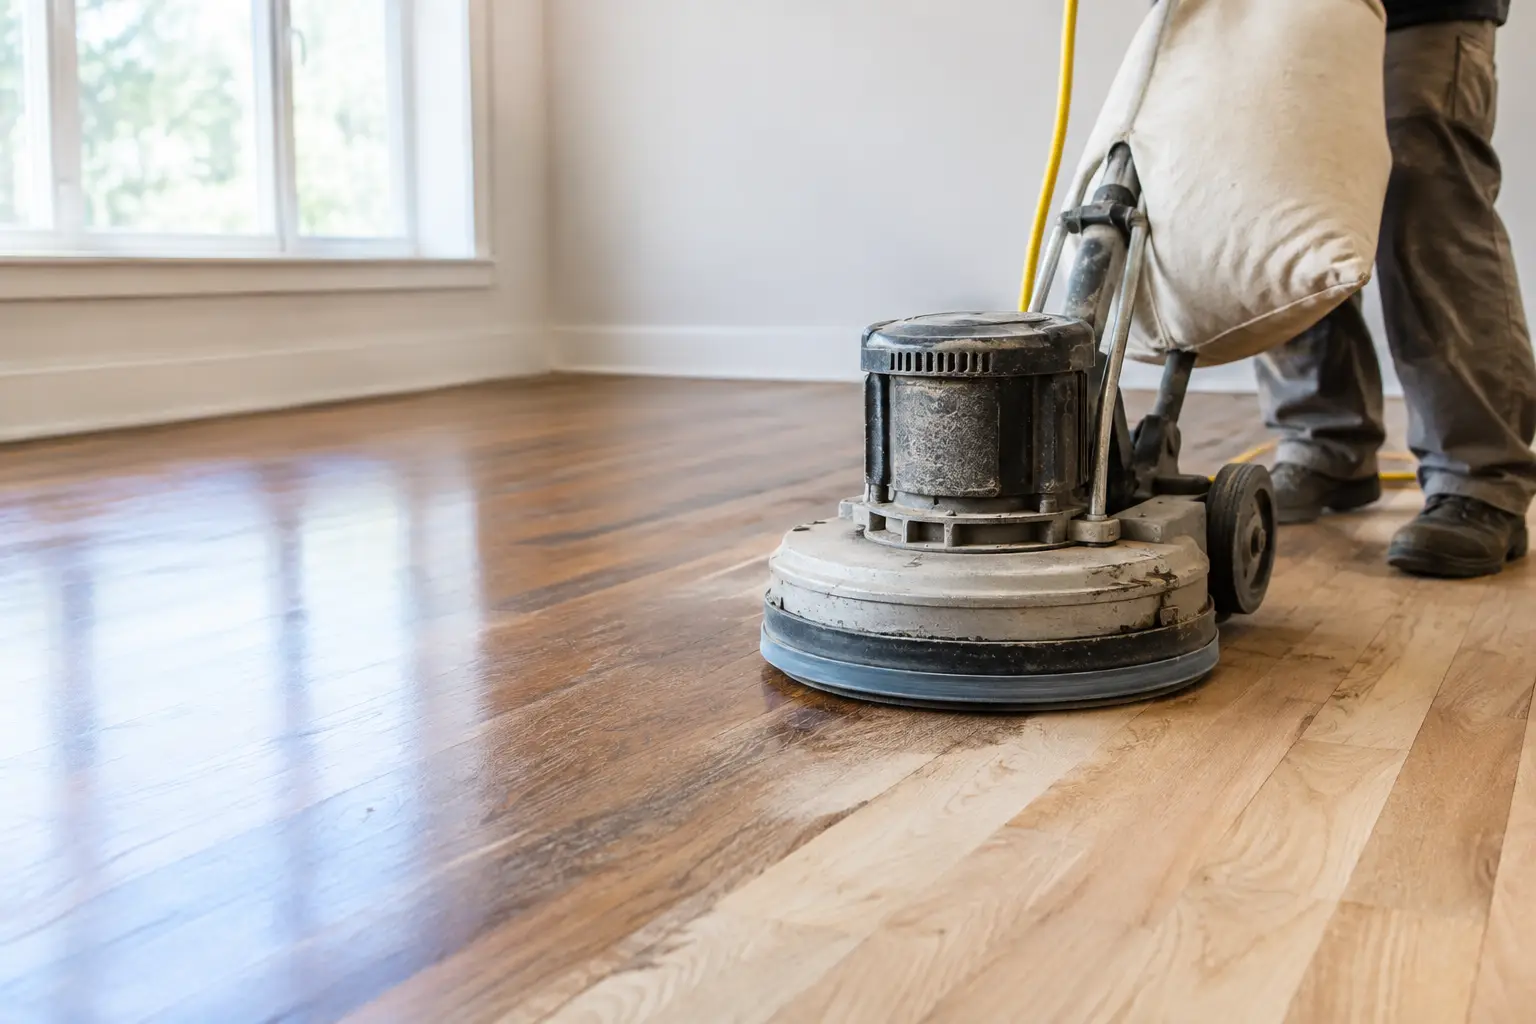
After moisture readings are stable and the floor has had adequate time to settle, a professional can evaluate the remaining distortion. Mild cupping often becomes visually acceptable without any refinishing. Moderate, stable cupping may be corrected through careful sanding and refinishing, provided the floor has sufficient wear layer remaining.
Solid hardwood typically offers more opportunity for restoration because it can be sanded multiple times over its life, within reason. Engineered hardwood requires greater caution. Its real-wood veneer may be thin, and a floor with a limited wear layer may not tolerate aggressive sanding. In that case, selective board replacement may be safer than trying to level the entire floor.
A qualified craftsperson will also consider the age and construction of the flooring. Antique heart pine, reclaimed oak, and wide-plank installations deserve a different approach than a modern strip floor. The objective is not merely to make every board perfectly flat. It is to restore a sound, beautiful surface without erasing the material’s integrity.
When Cupped Boards Need Replacement
Replacement becomes more likely when boards remain severely distorted after drying, the finish has failed, joints have opened or broken, or water exposure has caused staining, mold, or structural damage. Boards may also need replacement if the subfloor has swelled or deteriorated beneath them.
It is often possible to replace only the affected area, but matching requires care. Wood changes color with age and exposure to light, while site-applied stains can vary from one batch to another. A skilled repair can blend replacement boards into the surrounding floor through thoughtful species selection, grain orientation, staining, and finish work. This is where precision makes the difference between a repair that disappears into the room and one that remains visible from the doorway.
Can You Prevent Floor Cupping?
No hardwood floor is entirely immune to moisture movement, but good installation and steady home conditions greatly reduce the risk. Before installation, flooring should acclimate appropriately to the space, and installers should measure both the flooring and subfloor rather than relying on a calendar alone. The right vapor retarder or moisture-control system must match the subfloor and product being installed.
Afterward, treat humidity control as part of floor maintenance. Use exhaust fans in baths, address leaks promptly, keep crawl spaces dry, and avoid wet-mopping hardwood. A lightly damp microfiber mop and a cleaner designed for the finish are safer choices than steam mops or excessive water.
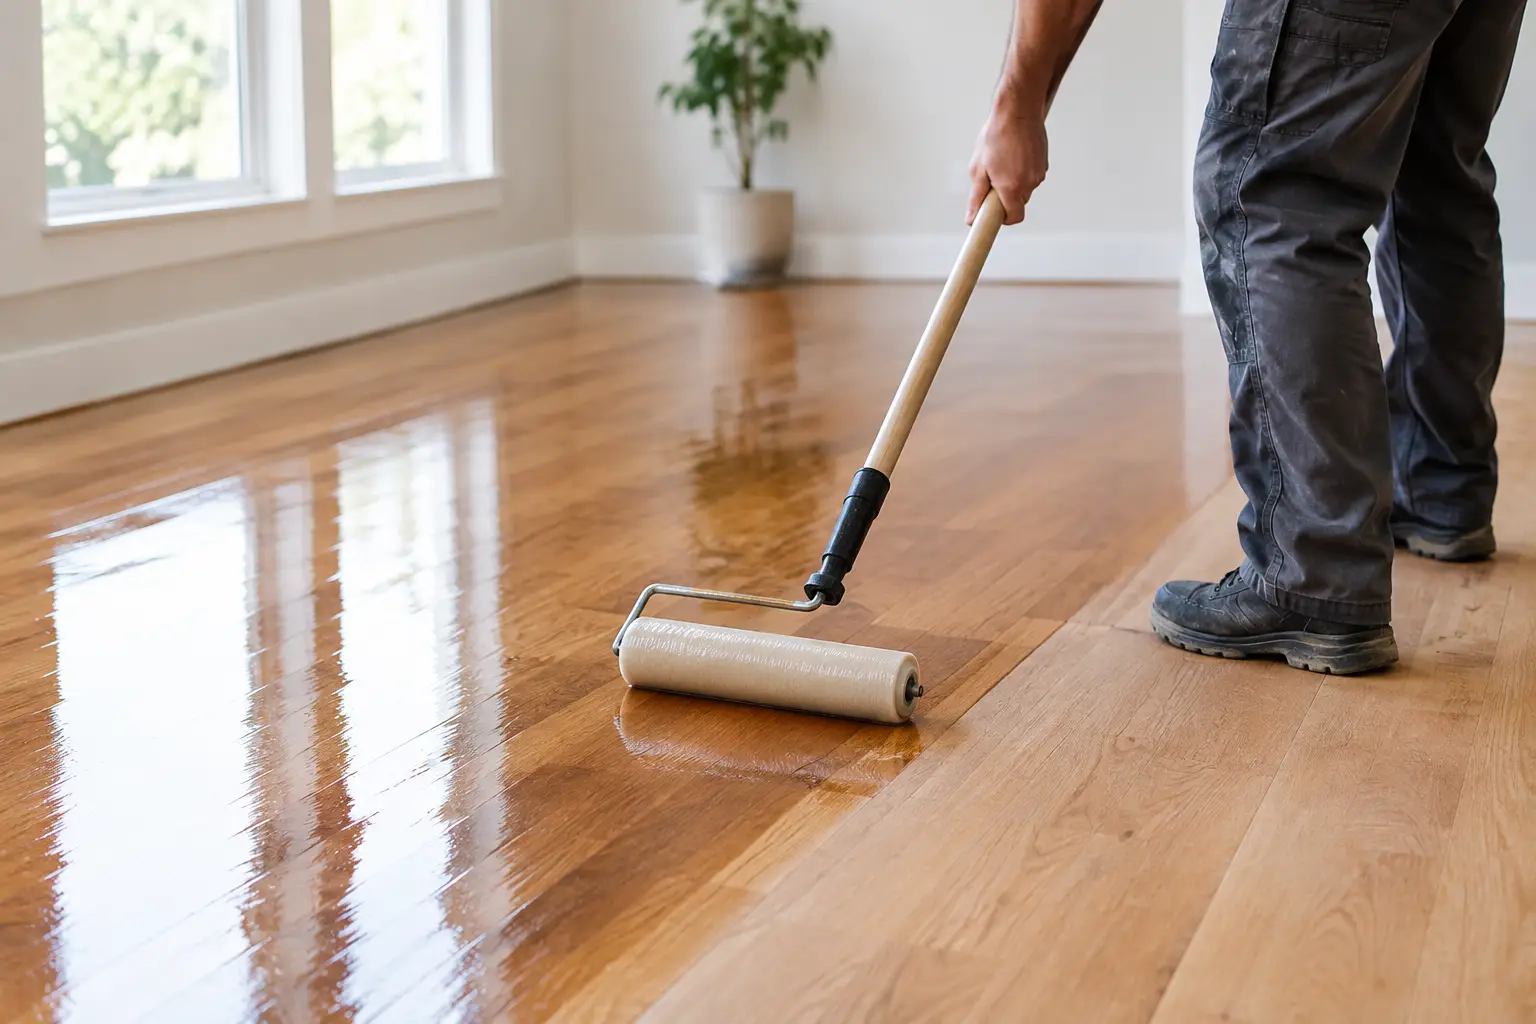
For a new floor or a restoration project, the finish matters as well. High-quality, low-VOC finishes create a durable protective layer and make routine care easier, but no finish can compensate for moisture entering from below. Lasting performance begins with a dry, properly prepared floor system.
A Careful Repair Protects the Investment
Floor cupping can feel alarming, especially when it appears in the center of a carefully designed room. Yet many cases are recoverable when moisture is addressed early and the wood is given time to respond. At Royal Oaks Flooring, we approach these assessments as craftsmen first: understand the material, diagnose the condition beneath the surface, and recommend only the work the floor truly needs.
The best next step is rarely the fastest one. It is the one that returns the home to stable conditions and preserves the natural beauty of the wood for the decades ahead.