A fine hardwood floor can carry a home for generations, but refinishing asks more of the room than many homeowners expect. To prepare floors for refinishing properly, the work begins well before the first sanding machine arrives. Furniture, repairs, moisture, adjacent rooms, and even the family schedule affect both the quality of the finish and the experience of living through the project.
For homeowners preserving original oak in an Annapolis Colonial, restoring wide-plank flooring on the Eastern Shore, or renewing a carefully designed home in Potomac, preparation is not a minor preliminary task. It is part of the craftsmanship. A clear, clean, stable work area gives the refinishing team the conditions needed to reveal the wood’s natural depth and apply a finish that wears beautifully.
Start With an Honest Assessment of the Floor
Before making arrangements to clear the room, determine whether the floor is a sound candidate for refinishing. Surface scratches, dullness, light staining, and worn traffic paths are often excellent reasons to refinish. Deep pet stains, water damage, movement between boards, cupping, termite damage, or severely thin wear layers call for a more careful evaluation.
Solid hardwood can usually be sanded and refinished several times over its lifespan, provided enough wood remains above the tongue-and-groove joint. Engineered hardwood is more variable. Some premium engineered floors have a substantial hardwood veneer that can be refinished; others have too little material for conventional sanding. The species, age, prior refinishing history, and existing finish all matter.
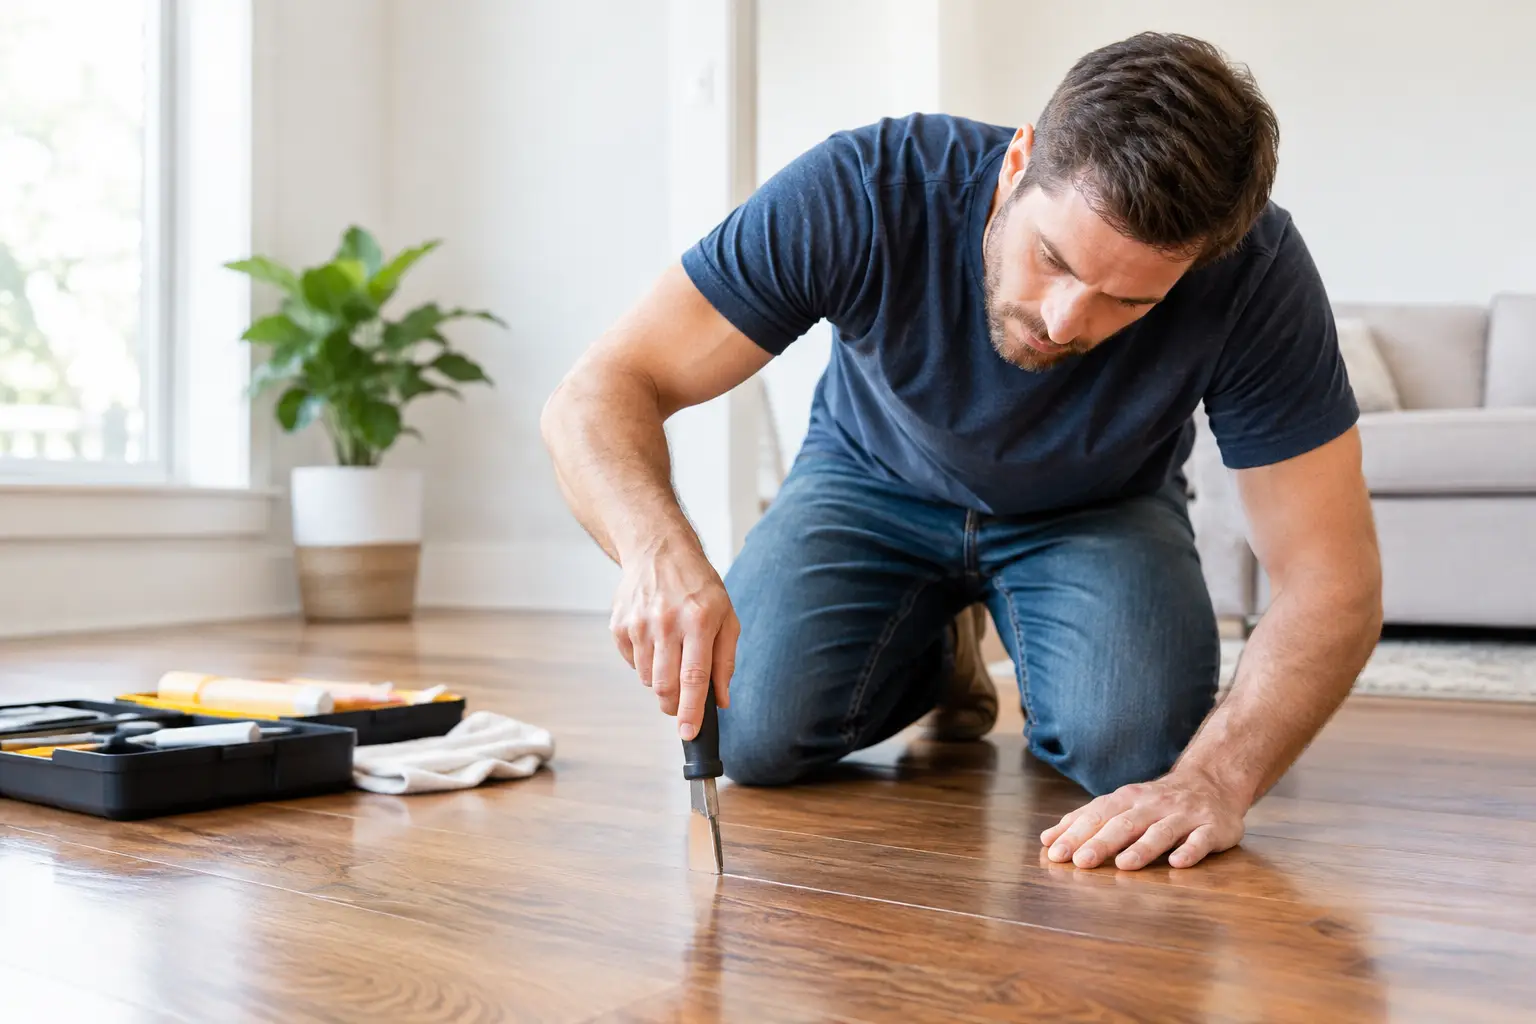
A professional assessment also helps identify repairs that must happen first. Loose boards should be secured, protruding fasteners addressed, and damaged planks replaced before sanding begins. Trying to sand through a structural problem rarely disguises it. More often, it makes the repair more visible and interrupts the clean, continuous character that makes hardwood so compelling.
Decide What Should Be Repaired and What Should Be Preserved
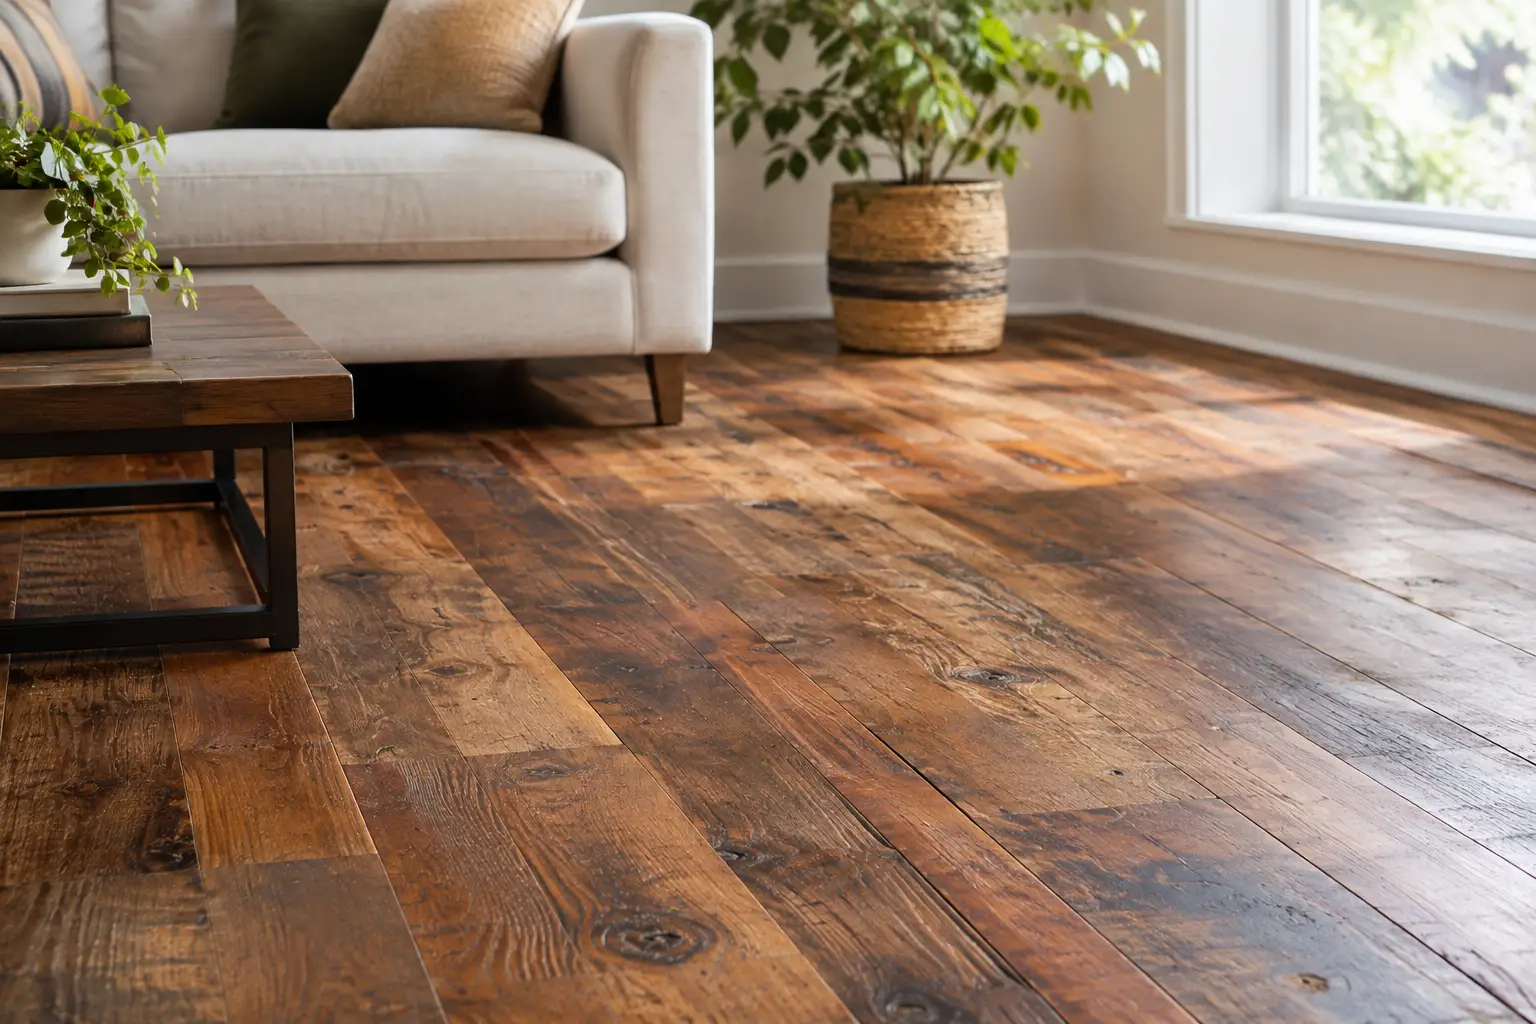
Historic and reclaimed floors deserve particular restraint. A dark mark around an old hearth, subtle nail holes, or gentle variation in board color may be part of the floor’s honest character. By contrast, active moisture damage, failed repairs, and unstable boards should be corrected.
The right standard is not making an older floor look factory-new. It is preserving its beauty while restoring a durable, even surface. Discuss expectations early, especially if you value a natural look with visible grain, mineral streaks, or the softened patina that only real wood develops over time.
How to Prepare Floors for Refinishing Before the Crew Arrives
The most practical step is also the one that requires the most planning: completely clear the work area. Remove furniture, rugs, floor lamps, wall décor that could be affected by vibration, and small items from built-ins or shelves nearby. Empty closets when their floors will be refinished. Do not leave heavy pieces in the room with the expectation that they can simply be shifted from side to side. That approach limits access and can leave uneven areas in the final result.
If a piano, large safe, built-in unit, or other specialty item cannot be moved easily, raise the issue during the estimate rather than on the first day of work. These pieces may require specialized moving, a phased approach, or a decision to leave a concealed section untouched. There is no universal answer, but there should be a plan.
Remove window treatments that reach the floor and make sure pets, children, and anyone sensitive to sound or dust have a comfortable place away from the work zone. Sanding equipment is powerful, and even modern dust-containment systems cannot make an active work site silent or entirely dust-free.
Create a Clear Path From Entry to Work Area
A refinishing team needs a protected, unobstructed route for equipment and materials. Clear hallways, stairs, and entryways. Discuss which door will be used, where vehicles should park, and whether there are access limitations such as narrow staircases, elevator reservations, or condominium work-hour rules.
This is especially valuable in older homes, where tight halls and original millwork deserve protection. A thoughtful crew will protect travel paths and adjacent surfaces, but homeowners can help by removing fragile objects and identifying any areas of particular concern in advance.
Control Dust Without Losing Sight of Reality
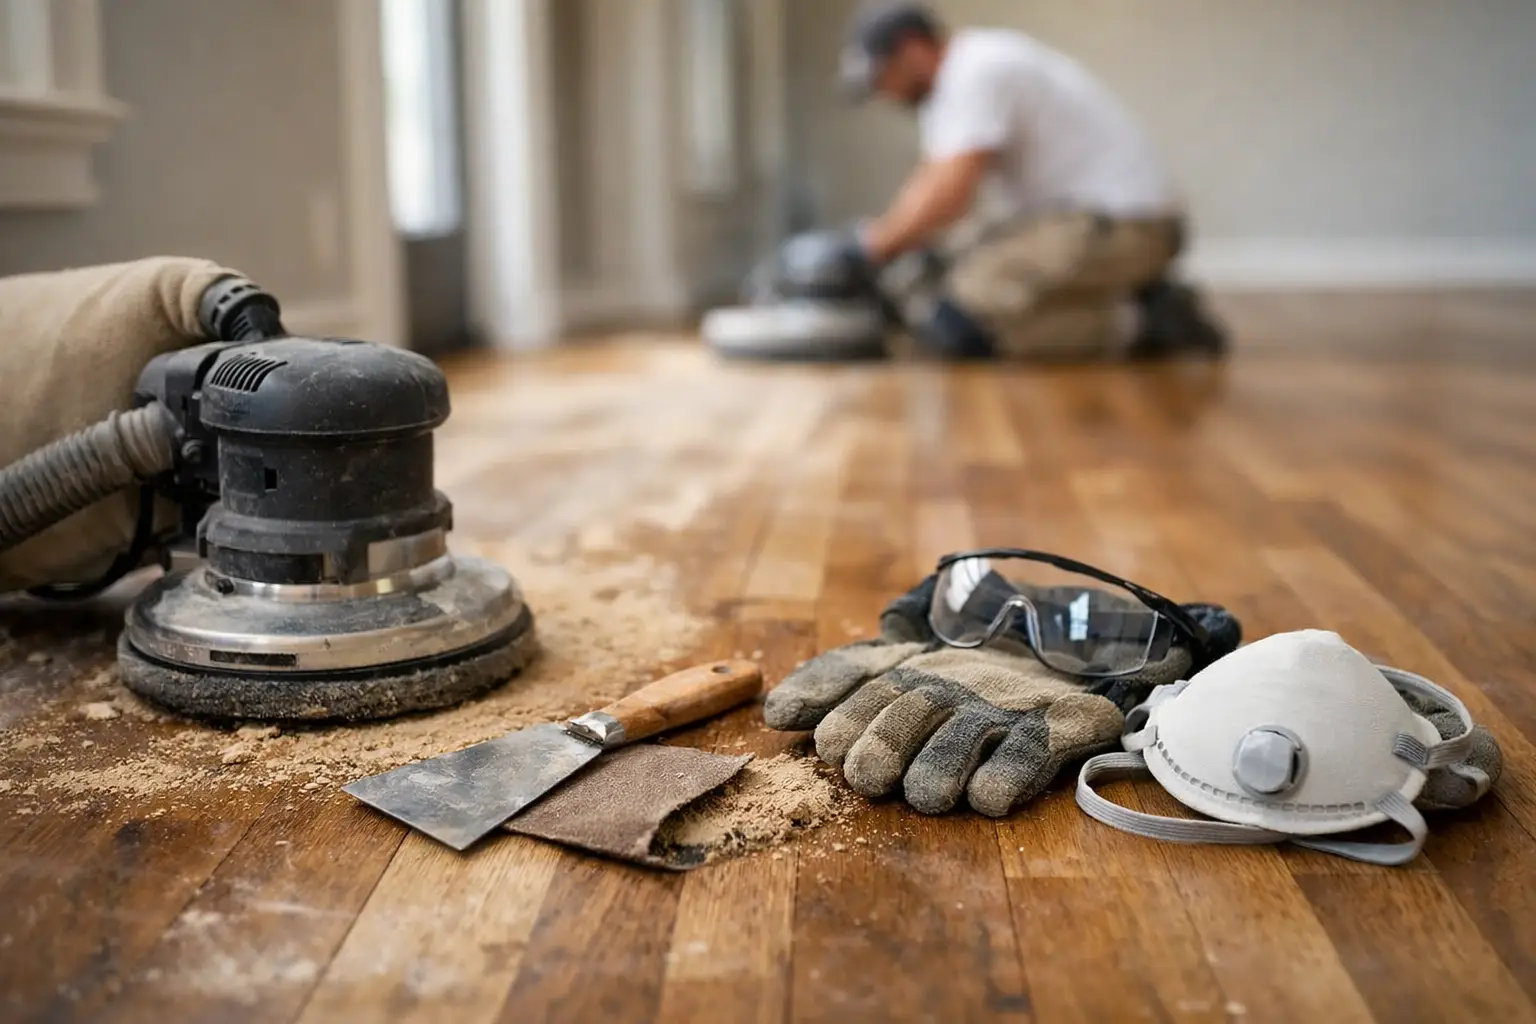
Professional sanding systems capture a significant amount of airborne dust at the source. They are a major improvement over older methods, protecting the home and helping create a cleaner surface for finish application. Still, refinishing is not a dust-free activity in the literal sense. Fine particles can travel, particularly through open doorways, return vents, and gaps around adjacent rooms.
Close and seal off rooms that are not being refinished when appropriate. Keep interior doors closed, and ask your flooring professional how they prefer to manage HVAC. In many cases, turning the system off during active sanding helps prevent dust from circulating through ductwork. The best approach depends on the home’s layout, season, and ventilation needs.
Cover or relocate delicate electronics, artwork, and upholstered furnishings in nearby spaces. If your project includes a whole first floor, it may be worth arranging to stay elsewhere during the dustiest and most disruptive stages. That decision is not always necessary, but it can make a substantial difference for households with infants, pets, respiratory sensitivities, or demanding work-from-home schedules.
Address Moisture, Temperature, and Household Timing
Wood responds to its environment. It expands as humidity rises and contracts when air becomes dry, which is why a successful refinishing project considers the home’s conditions as carefully as its color palette. Correct active plumbing leaks, window leaks, basement dampness, and moisture problems before refinishing. A beautiful new finish cannot solve a moisture source beneath or around the floor.
Maintain reasonable indoor temperature and humidity as directed by your flooring professional. Sudden swings can affect dry times and reveal seasonal movement in the boards. This is particularly relevant for homes near the Chesapeake Bay, where outdoor humidity can shift quickly and older homes may have less predictable climate control.
Timing matters at the household level, too. Refinishing may require portions of the home to remain off-limits while sanding occurs and while the finish cures. Modern low-VOC, quick-drying finishes can shorten the disruption compared with traditional systems, but “dry to the touch” is not the same as fully cured. Plan meals, sleeping arrangements, pet care, and access to essential rooms accordingly.
Clean What You Can, but Do Not Attempt Pre-Sanding Repairs Yourself
A basic cleaning before the crew arrives is helpful. Vacuum loose debris along baseboards and in corners after the room is empty, then wipe up any fresh spills. This allows the refinishing team to focus on the floor rather than household clutter.
Avoid applying polish, wax, oil soap, adhesive removers, or store-bought refinishing products in the days leading up to the project. These products can leave residues that complicate adhesion and may require extra corrective work. If you have used wax or a specialty cleaner in the past, tell your flooring professional. That information is useful, not embarrassing, and it allows the team to select the correct preparation method.
Likewise, do not fill gaps, drive nails, or attempt spot repairs unless instructed to do so. Wood filler must be matched to the floor and used with an understanding of seasonal movement. A filler that looks acceptable before sanding may shrink, crack, or draw unwanted attention after stain and finish are applied.
Confirm the Design Decisions Before Sanding Begins
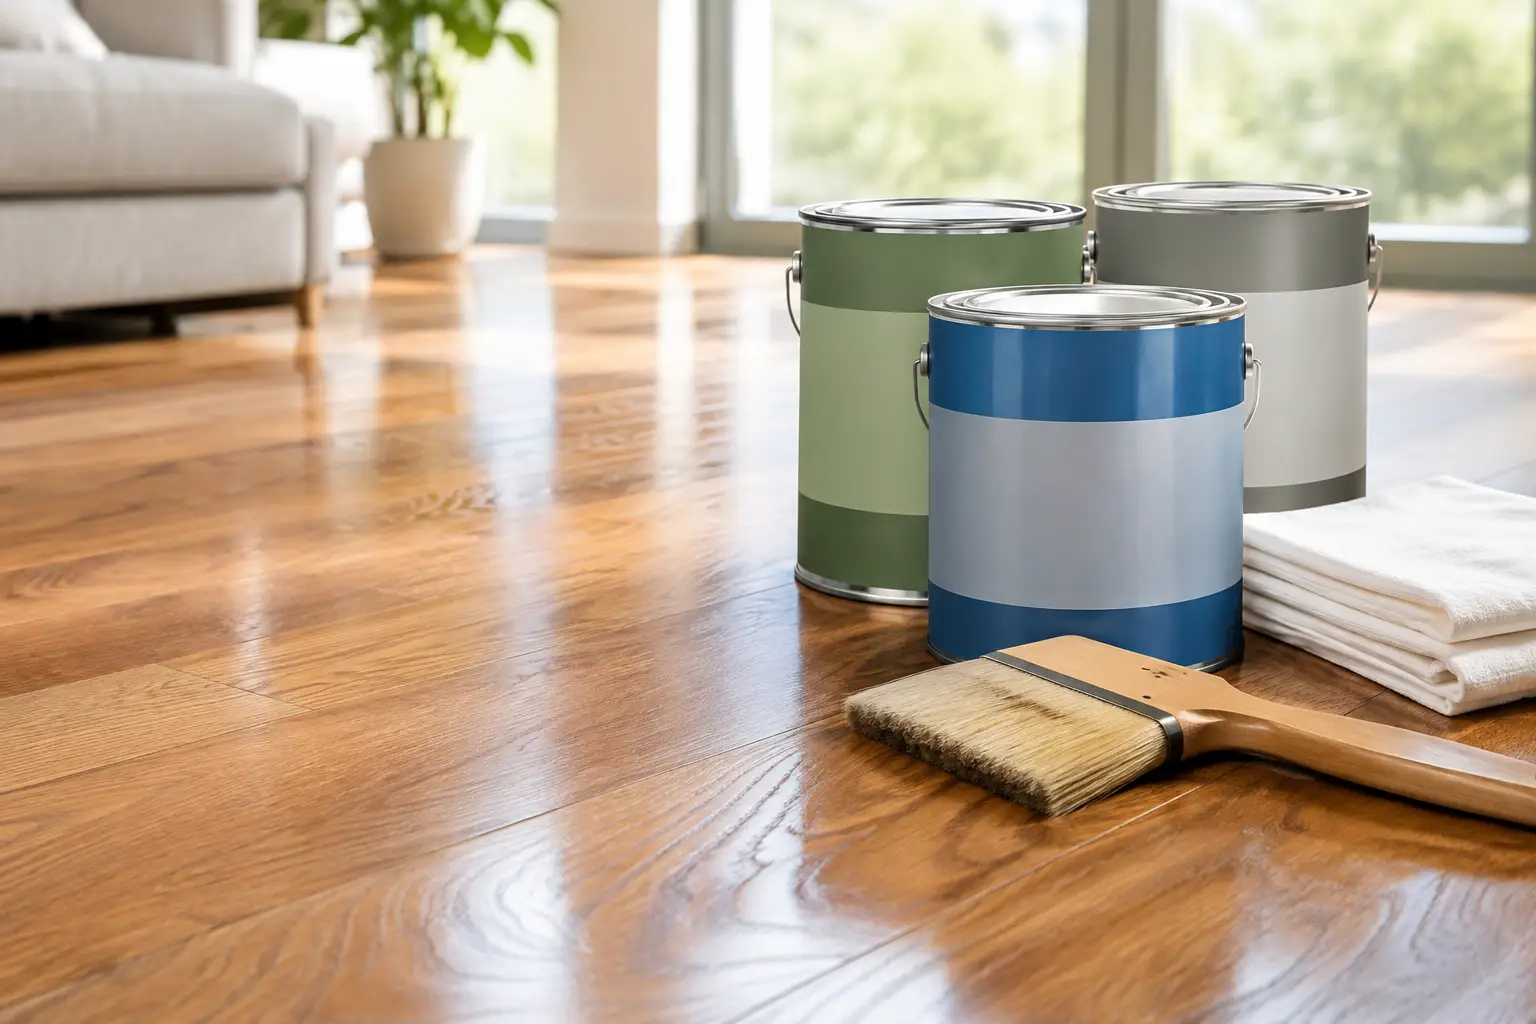
Refinishing is a rare opportunity to reconsider how the floor supports the rest of the home. Confirm whether you want to preserve the natural tone, reduce orange or red undertones, deepen the color, or use a custom stain. Samples should be viewed in the actual room, at different times of day, because lighting changes how wood species and stain absorbency appear.
Also confirm the sheen. A satin finish often offers an elegant, forgiving look for active family spaces, while matte finishes can feel especially natural and contemporary. Higher gloss creates more reflectivity but can reveal scratches and dust more readily. There is no universally superior choice – only the one that suits the wood, the architecture, and the way the room is lived in.
Discuss transitions, vent covers, thresholds, shoe molding, and baseboards before work begins. These details are small individually, yet they determine whether a refinished floor feels carefully resolved or merely resurfaced. At Royal Oaks Flooring, this level of planning is treated as part of the finished craft, not an afterthought.
A well-prepared room allows the wood to receive the attention it deserves. Clear the space, resolve the problems that sanding cannot fix, protect the rest of the home, and give the finish adequate time to cure. The reward is more than a cleaner-looking floor: it is a renewed foundation for the rooms, gatherings, and daily life that unfold above it.