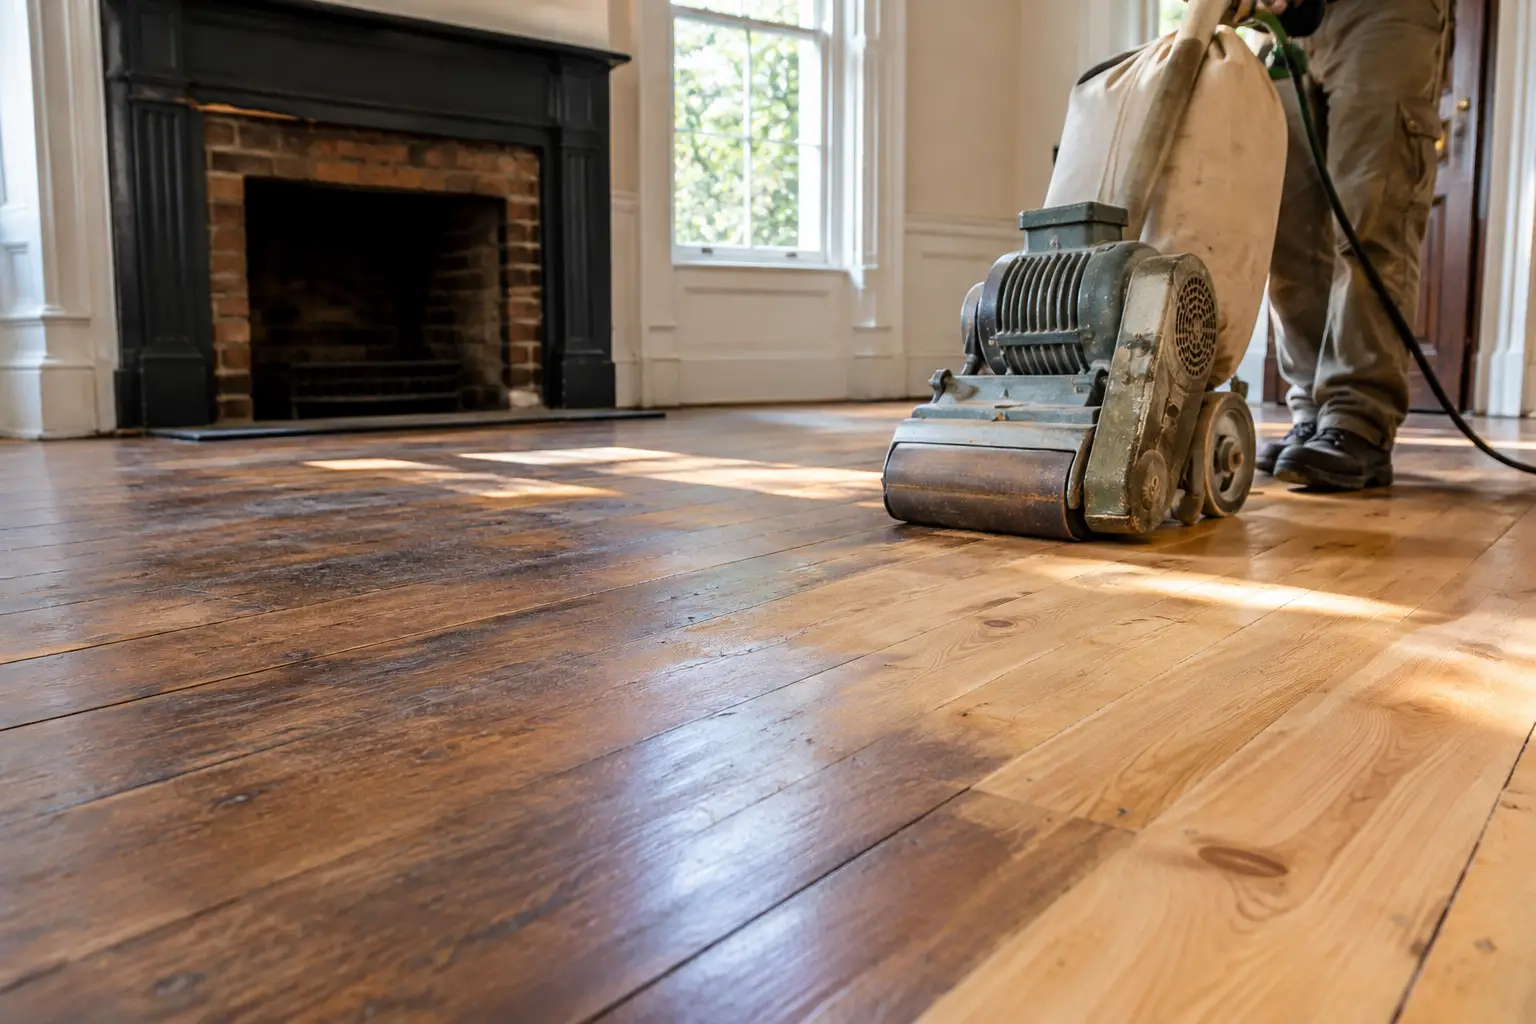
A century-old oak floor can look tired under layers of dark finish, patchwork repairs, and everyday wear. Yet the marks that make it seem imperfect often carry the very character a renovation is meant to preserve. Historic home flooring calls for more than choosing a stain color or scheduling a sanding crew. It requires a careful reading of the house: its era, original materials, movement, repairs, moisture history, and the way its rooms are used today.
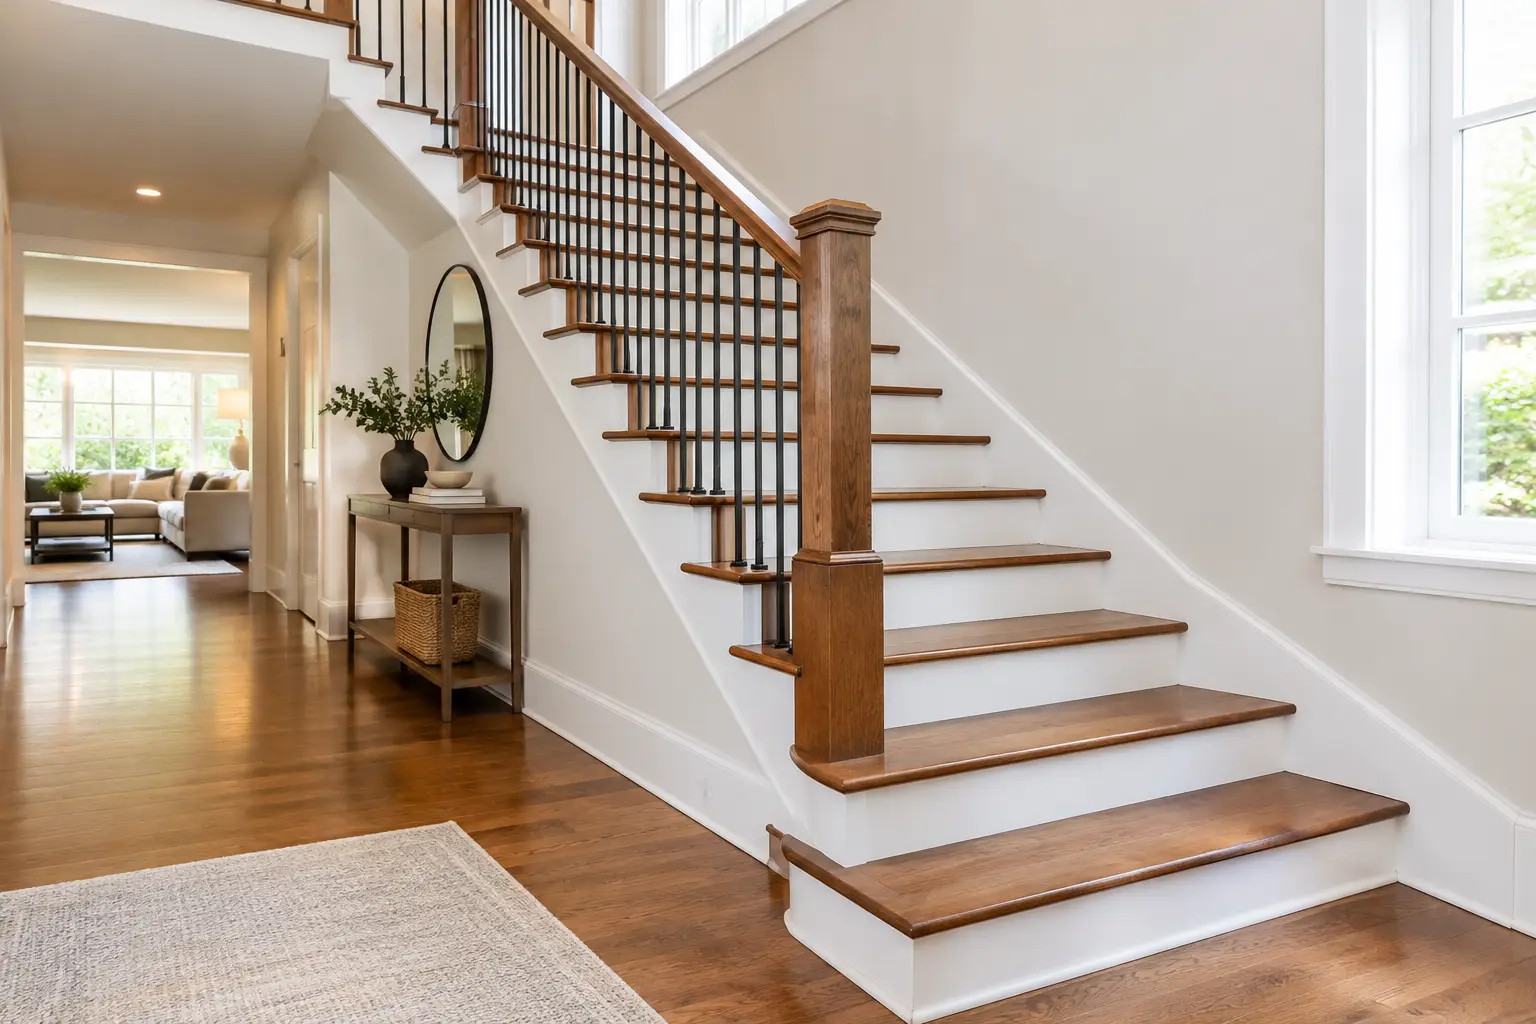
For homeowners restoring properties in Annapolis, the Eastern Shore, Potomac, and throughout the D.C. region, the best result is rarely the fastest or most dramatic-looking transformation. It is a floor that feels right for the home, performs reliably for the family living in it, and retains the depth that new material cannot easily imitate.
Start With What the Floor Is Telling You
Before deciding whether to refinish, repair, or replace an old floor, look beyond its surface appearance. Dirt-filled grain, shallow scratches, and an ambered finish may make wood appear darker or more damaged than it truly is. Once carefully cleaned and evaluated, an original floor may have far more life remaining than expected.
Age alone does not determine value. A 1920s narrow-strip red oak floor, a Victorian heart pine floor, or wide-plank boards from an earlier farmhouse each deserve a different approach. Species, board width, milling marks, fastening methods, and the condition of the subfloor all help reveal what is original and what has been altered over time.
Wear patterns also matter. A soft path through a dining room or hallway is evidence of daily life, not automatically a defect. The question is whether that wear is purely cosmetic or whether it has reduced the boards to a point where sanding would compromise their strength. A skilled assessment separates a patina worth preserving from damage that needs correction.
Check for Structural and Moisture Issues First
Cupping, crowning, wide seasonal gaps, loose boards, and black staining can point to problems below or around the floor. A floor may be reacting to a damp crawl space, a plumbing leak, poor exterior drainage, or a heating and cooling system that creates sharp humidity swings. Refinishing without addressing the cause simply gives the problem a fresh surface.
In older homes, installers should also inspect for uneven subfloors, failed joists, insect damage, and earlier repairs hidden beneath rugs or added flooring. This is especially important when a homeowner plans to remove carpet, vinyl, or tile and expose the original boards beneath. The discovery can be rewarding, but it should be approached with patience and a realistic allowance for repair work.
Restoration Is Often Better Than Replacement
Original hardwood has an authenticity that is difficult to reproduce. Older lumber was frequently cut from slower-grown trees, producing tighter grain and a density that many homeowners appreciate immediately underfoot. Its natural variation, softened edges, and evidence of handwork bring a room a sense of permanence.
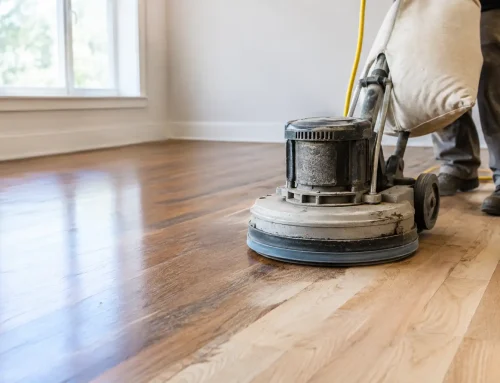
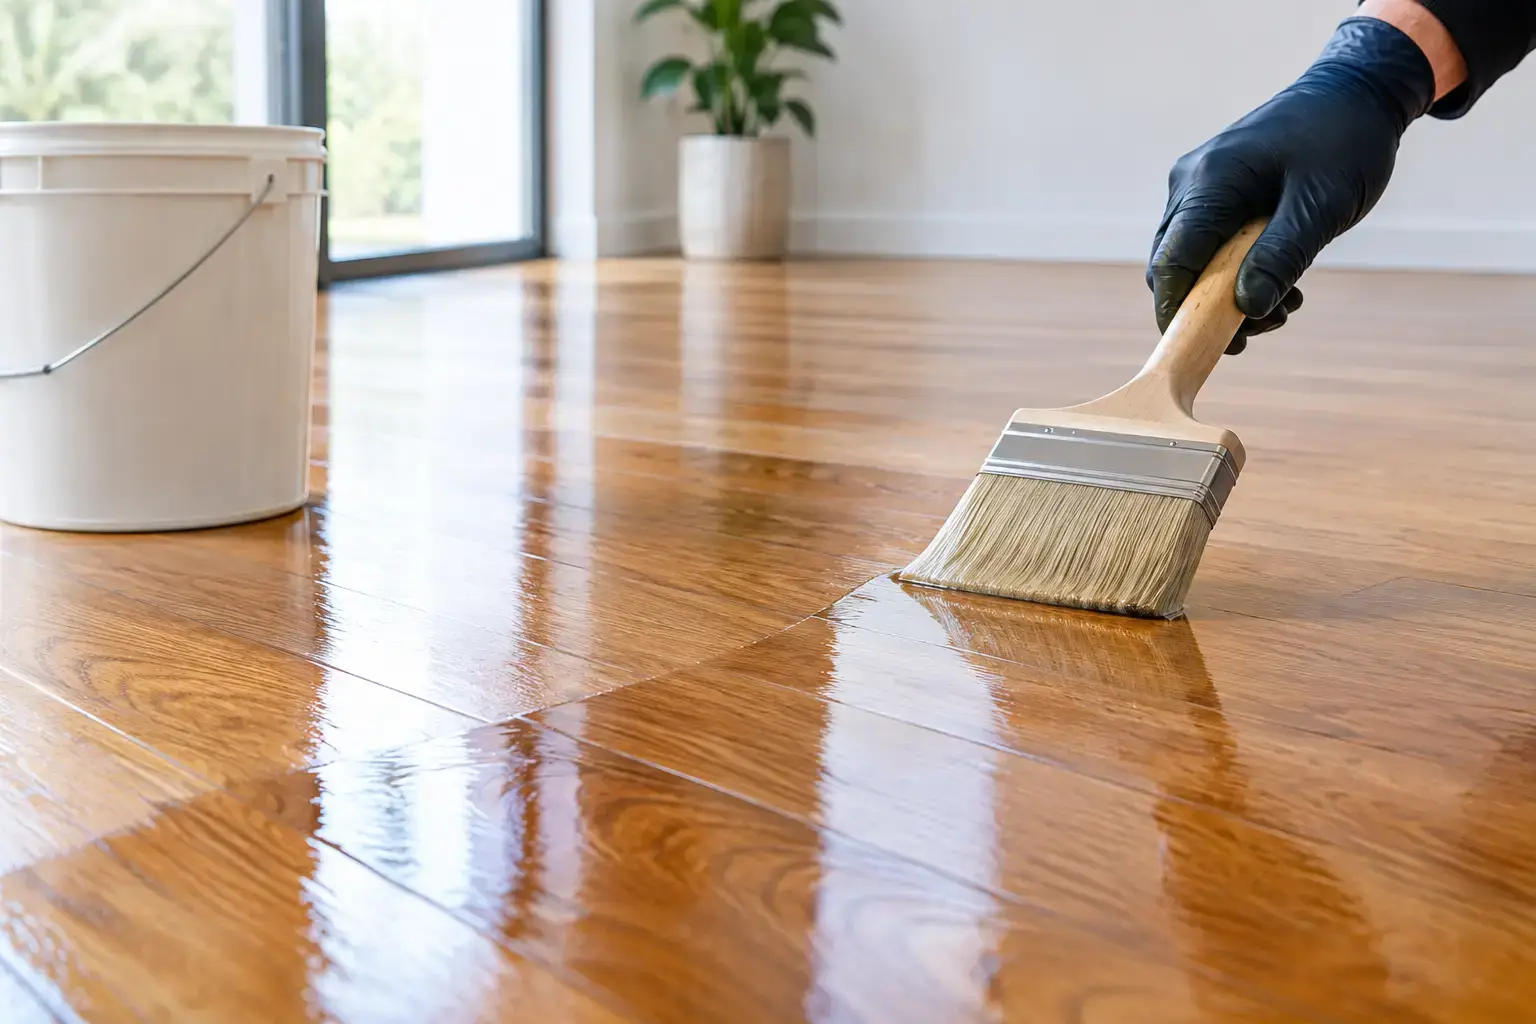
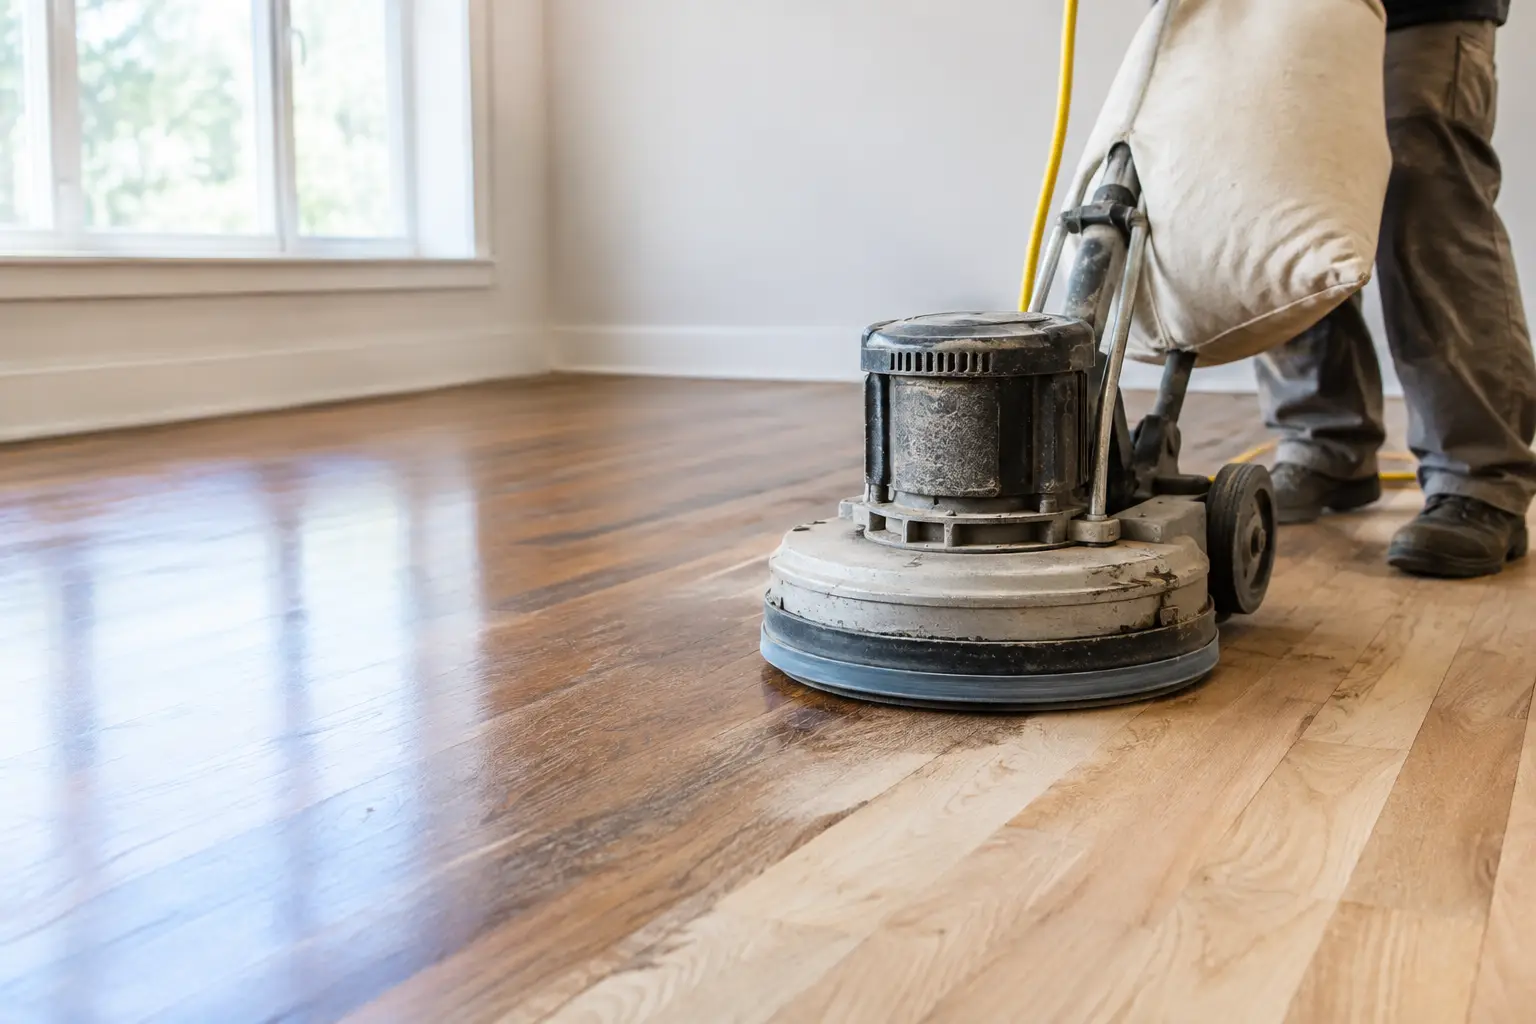
Refinishing can remove surface damage, unify old repairs, and reveal the wood’s true color without erasing its history. The right approach is conservative. Every sanding removes material, so the goal is not to make an old floor look factory-new. It is to create a clean, stable, protected surface while preserving as much original wood as possible.
Replacement becomes the wiser choice when boards are too thin to sand safely, damage is widespread, or structural problems make repair impractical. It may also be necessary where prior renovations removed large portions of the original floor. Even then, replacement does not have to mean a generic result. Reclaimed lumber, salvaged boards, or carefully selected new wood can be integrated to honor the scale and character of the house.
The trade-off is straightforward: a full replacement can offer consistency and easier repair planning, while restoration preserves material history and often delivers a more distinctive finished floor. The best choice depends on condition, budget, the importance of historical accuracy, and how much visual variation the homeowner welcomes.
Matching Wood to the Home’s Character
When original boards must be replaced or extended into an addition, species and board dimensions deserve close attention. A wide-plank floor may suit a Colonial, farmhouse, or waterfront property beautifully, while narrow strips may be the more faithful choice for a 1920s or mid-century home. A mismatch in plank width can make even premium wood look like a later afterthought.
Grain selection matters as much as species. Plain-sawn oak has expressive cathedral patterns and a familiar warmth. Rift- and quarter-sawn oak offer a straighter, more orderly grain and greater dimensional stability. Heart pine brings a rich, old-house character, while walnut and cherry can create a more formal, tailored look when used thoughtfully.
Reclaimed wood can be an exceptional option, but it is not automatically the right one. It may contain nail holes, color variation, checking, and irregularities that add visual depth. Those features need to align with the home and the homeowner’s expectations. In a polished historic renovation, reclaimed material should be selected and installed with precision so it feels intentional rather than rustic by accident.
Respect Transitions and Repair Lines
A historic floor does not need to be perfectly uniform to look refined. In fact, a subtle repair line can be preferable to an overly broad patch that disrupts the rhythm of the room. Experienced craftspeople can weave replacement boards into an existing field, align grain direction, stagger end joints naturally, and blend the repair through color and finish work.
Doorways and room transitions require equal care. Older homes often have settling, uneven thresholds, and changes in flooring from one room to the next. A clean transition solves a practical problem, but it should also feel proportionate to the architecture. Rushed trim pieces and abrupt height changes draw attention for the wrong reasons.
Choose a Finish That Protects Without Hiding the Wood
Finish selection is one of the most consequential decisions in historic home flooring. The sheen, color, and durability of the finish shape how the floor will look in morning light, under lamps, and after years of use.
A matte or satin sheen is often a strong choice for older wood because it emphasizes grain and soft variation rather than reflecting every mark. High-gloss finishes can be beautiful in formal settings, but they tend to reveal scratches, dust, and unevenness more readily. The correct sheen depends on the room, the light, and the level of daily traffic.
Color should be tested on the actual floor whenever possible. Historic wood can absorb stain unevenly due to old finish residue, grain density, sun fading, and prior repairs. A small sample area provides a far more trustworthy preview than a stain chip. In many homes, a clear or lightly toned finish gives the wood more distinction than a dark stain intended to conceal age.
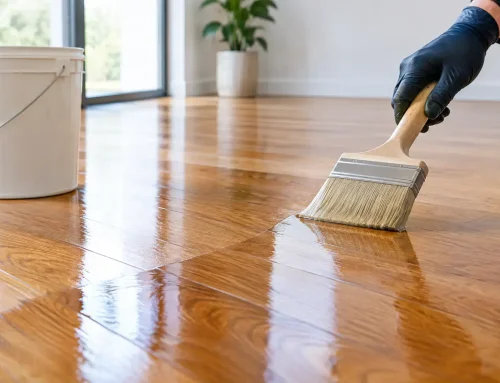
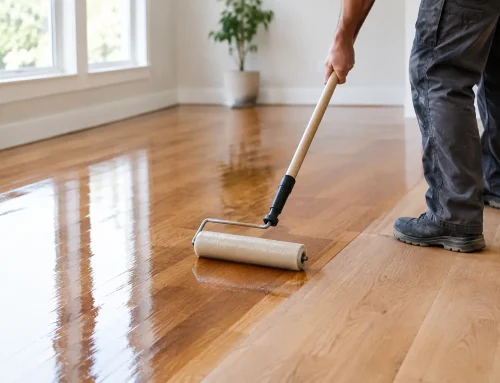
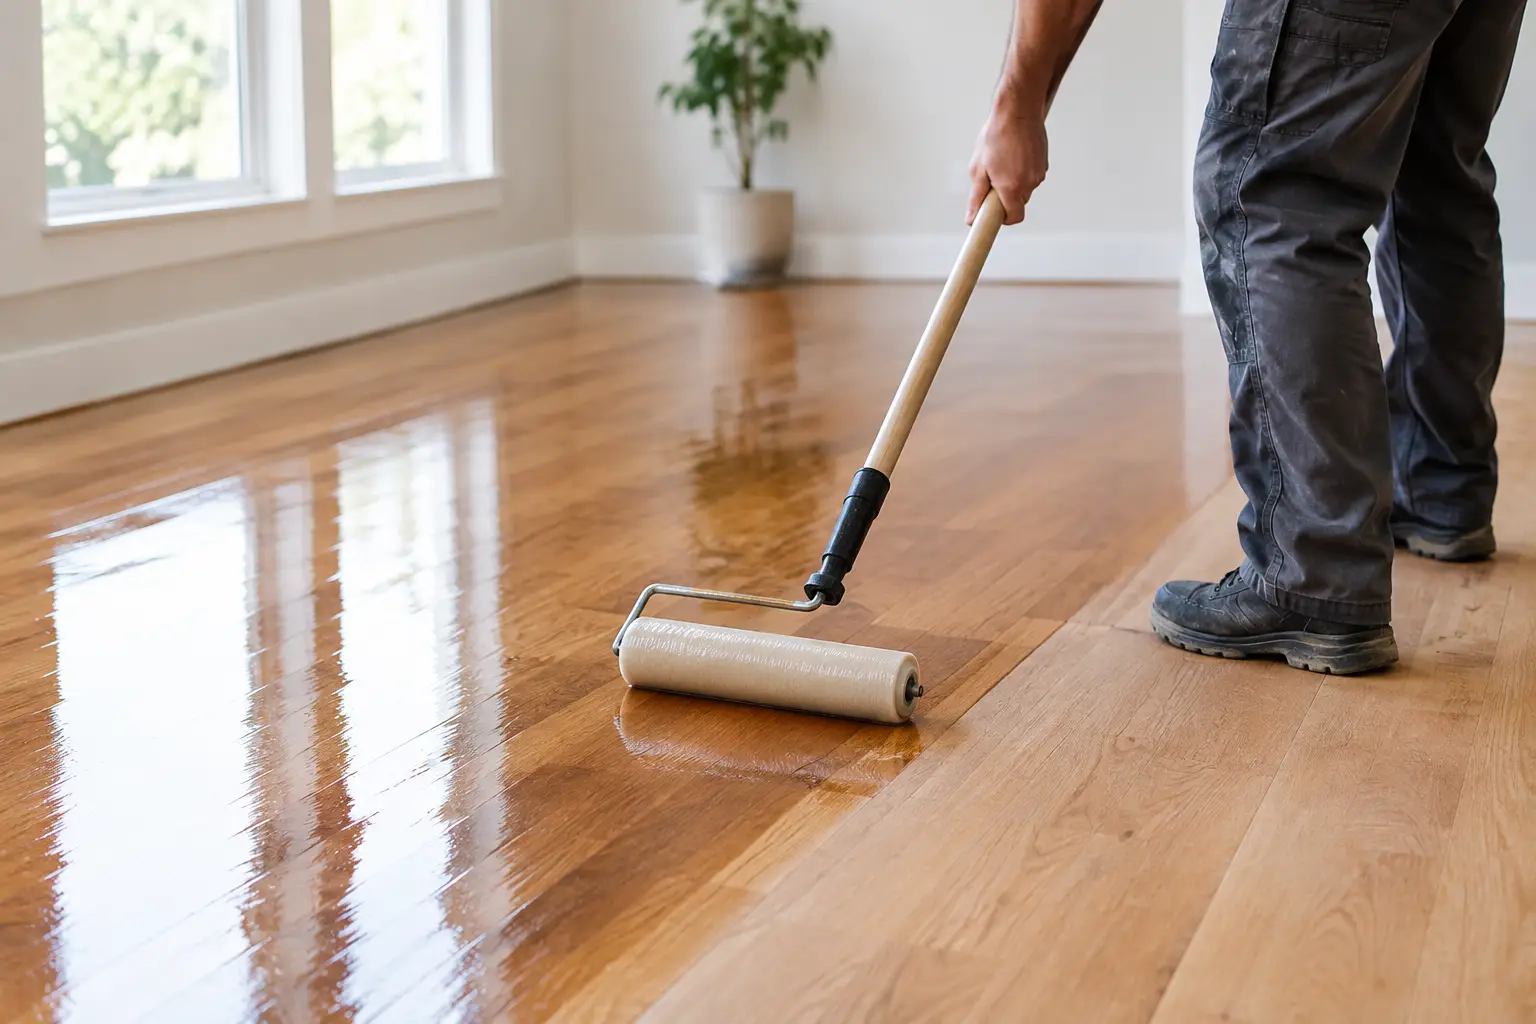
Modern waterborne finishes offer strong protection, quick drying times, and very low VOC options that support healthier indoor air quality. They are especially valuable for occupied homes where minimizing odor and disruption matters. Oil-based systems can create a warmer amber tone, which may suit some period interiors, but they generally take longer to cure and can deepen in color over time. Neither is universally better. The floor, desired appearance, household schedule, and maintenance expectations should guide the decision.
Plan for the House You Live In Now
Historic preservation does not require living as though the house were a museum. Families need floors that can withstand pets, guests, children, moving furniture, and the occasional wet boot. The practical answer is not to avoid hardwood, but to protect it intelligently.
Use breathable mats at exterior doors, felt pads beneath furniture, and area rugs in high-traffic zones. Avoid soaking the floor during cleaning, particularly near older board seams. Maintain consistent indoor humidity when possible, since wood expands and contracts with seasonal changes. These habits do more for longevity than many homeowners realize.
If radiant heat, an addition, or a kitchen renovation is part of the project, the flooring plan should be coordinated early. Historic boards may need special preparation, and new materials should be acclimated properly before installation. Decisions about cabinetry, trim, appliances, and floor height are easier to resolve before the first board is laid than after a finished surface is in place.
Let Craftsmanship Set the Standard
A historic floor is not improved by making it anonymous. Its knots, grain, softened edges, and evidence of age are part of the home’s visual language. The work should bring order to those details, not erase them.
For a restoration to endure, it needs careful moisture evaluation, thoughtful material matching, disciplined sanding, and a finish system suited to real life. That level of attention is the difference between a floor that merely looks refreshed and one that belongs convincingly in the home for decades to come. When the time comes to make the decision, ask for an assessment rooted in preservation as well as performance – and give the original wood every fair chance to tell its story.