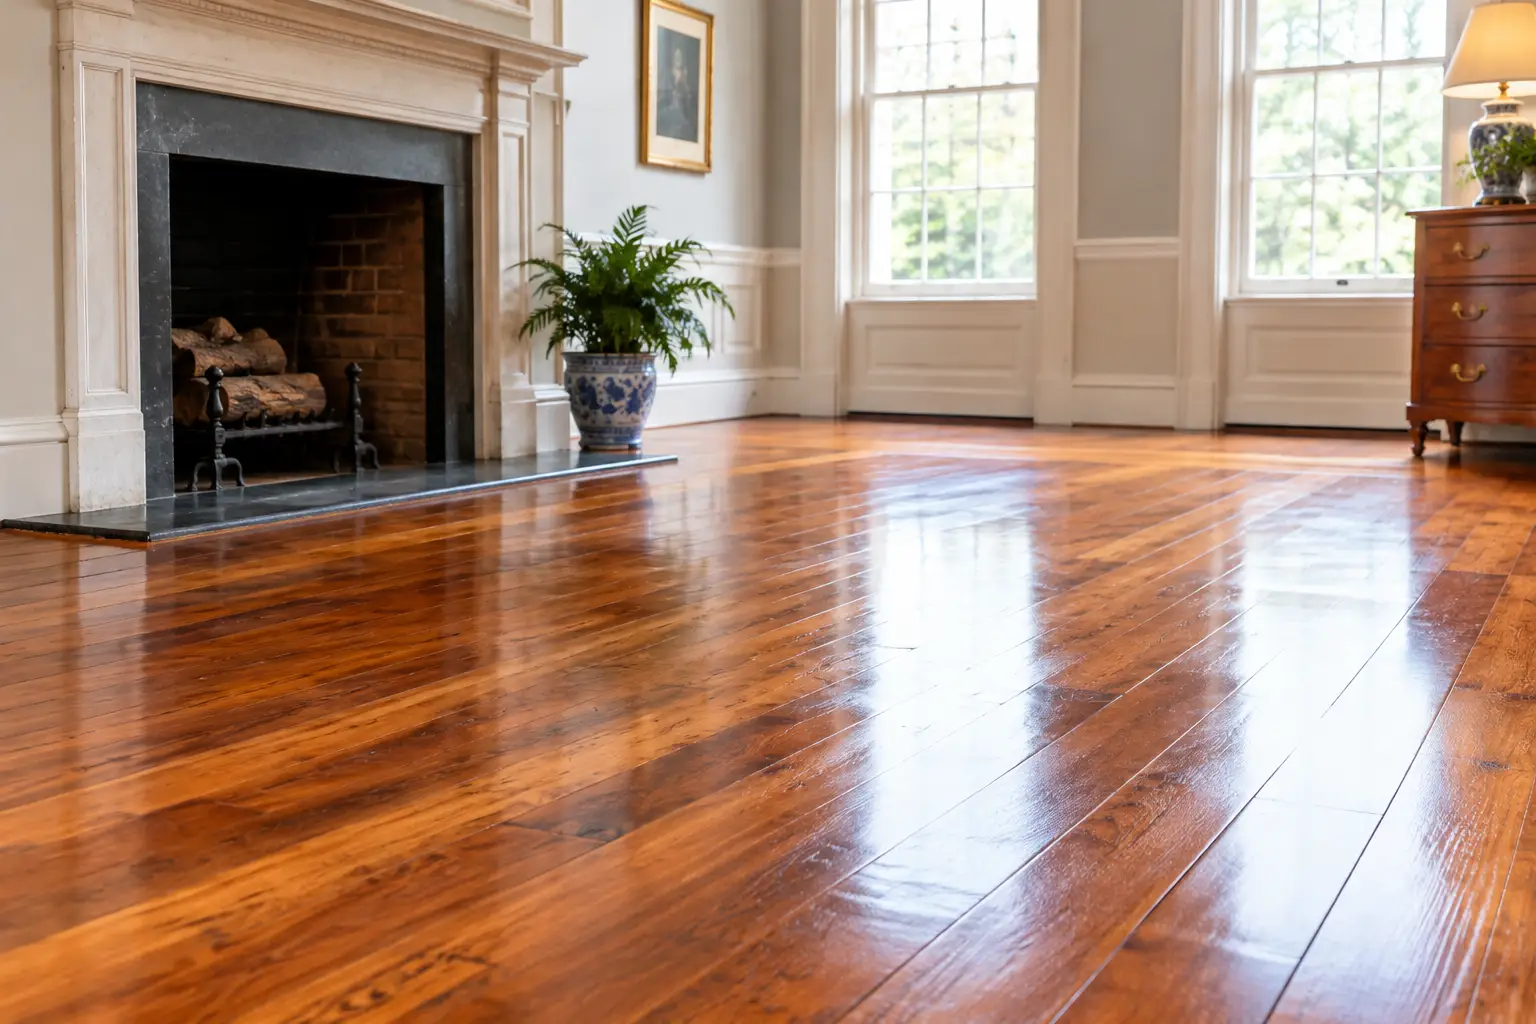
A century-old oak floor rarely asks to be replaced. More often, it asks to be understood. The dark perimeter beside a radiator, the uneven sheen beneath an old rug, and the narrow gaps that appear each winter can look alarming to a homeowner planning a renovation. Yet these details may be evidence of a floor that has served the home faithfully for generations. Historic home floor preservation begins with the discipline to assess that story before sanding away its surface.
Original flooring carries proportion, patina, and material quality that modern replacements cannot always duplicate. In historic homes throughout the D.C. Metro area, Maryland, and the Eastern Shore, it is common to find old-growth oak, heart pine, maple, chestnut, or fir with a density and visual character that reward careful restoration. The right approach protects that character while making the floor durable enough for modern family life.
What Historic Home Floor Preservation Really Means
Preservation is not simply leaving an old floor untouched. It is a measured process of retaining as much original material as possible, repairing what has genuinely failed, and selecting finishes that protect the wood without making it look artificially new.
That distinction matters. A floor can be structurally sound while looking tired, scratched, or uneven in color. It can also look presentable while hiding loose boards, insect damage, moisture problems, or previous repairs made with unsuitable materials. Surface appearance is only one part of the assessment.
The goal is not perfection in the showroom sense. A historic floor should retain its natural variation and evidence of age. The goal is a stable, clean, beautifully finished surface that belongs to the architecture of the home.
Patina is not the same as damage
Patina is the mellow color, softened grain, and gentle wear developed through decades of use. It gives antique flooring depth. Deep gouges, cupping, black water stains, active movement, and soft or crumbling boards are different matters. They may call for correction, but even then, a skilled craftsperson should make the smallest effective intervention.
The best restoration decisions separate honest age from conditions that will shorten the floor’s life. Removing every mark can strip away the very quality that made the floor worth saving.
Start With a Thorough Floor Assessment
Before choosing a stain color or scheduling refinishing, inspect the floor as a complete system. That means looking beyond the visible face of the boards.
A professional assessment considers the wood species, board width, installation pattern, condition of the subfloor, thickness remaining above the tongue and groove, prior sanding history, and signs of moisture. In older homes, it also considers transitions at doorways, original baseboards, built-ins, fireplaces, and additions where newer flooring meets older material.
This is especially valuable when a floor has been covered for years by carpet, vinyl, or laminate. Removal can reveal a welcome surprise, but it can also expose paint residue, adhesive, pet staining, uneven fading, or damaged sections near old plumbing lines. No responsible contractor should promise a final result until these conditions are visible and evaluated.
Determine whether the floor can be sanded
Many solid hardwood floors can be refinished more than once, but not indefinitely. Each full sanding removes material. A floor that has already been aggressively sanded may have little wood left above the tongue, making another conventional refinish risky.
In those cases, a light screen-and-recoat may be the wiser choice if the finish is worn but the wood itself remains level and intact. If boards are dangerously thin, localized repair or selective replacement may be preferable to sanding the entire room. The correct method depends on the floor, not on a standard package of services.
Look for the source of discoloration and movement
Black stains around radiators, exterior doors, dishwashers, and old windows often point to past or ongoing moisture. Cupped boards can indicate moisture below the floor, while crowned boards may result from sanding a cupped floor before it had time to dry. Gaps can be seasonal in a traditionally constructed wood floor, but unusually wide gaps or loose boards may signal changes in humidity, framing movement, or subfloor failure.
Restoration should never conceal an active moisture issue. Repair the source first, allow the assembly to stabilize, and then determine the right treatment for the wood.
Preserve Original Boards Whenever Possible
Keeping original boards in place is usually the most convincing repair strategy. Their grain, aging, and dimensions already belong to the room. When replacement is needed, the challenge is not merely finding wood of a similar species. It is finding boards with compatible width, thickness, grain character, and moisture content, then installing them in a way that respects the existing pattern.
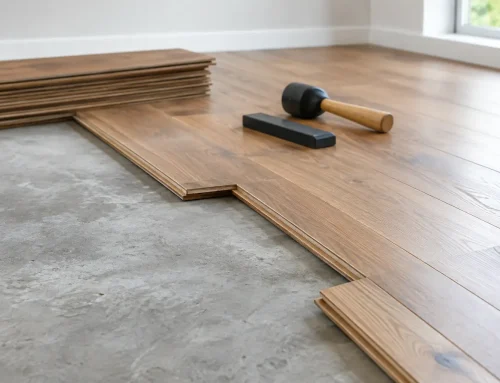
Salvaged lumber can be an excellent choice for a visible patch, particularly in homes with wide-plank pine or other distinctive historic materials. It should be inspected carefully for embedded fasteners, insect damage, and structural integrity. New unfinished lumber can also work well when it is properly milled and blended with the existing floor through thoughtful placement and finishing.
A few strategically placed repairs generally look more authentic than replacing an entire room because several boards are imperfect. When a large section has failed, replacement may be unavoidable. Even then, retaining a border, a closet floor, or another original area can preserve valuable evidence of the home’s original construction.
Choose a Refinishing Method That Respects the Wood
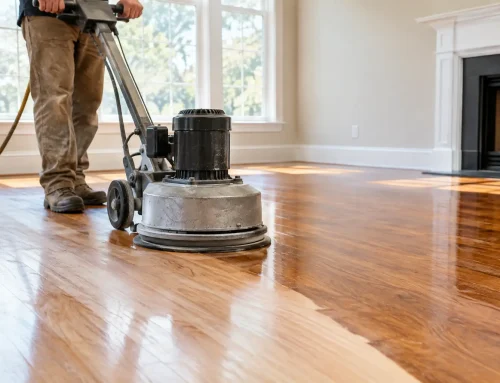
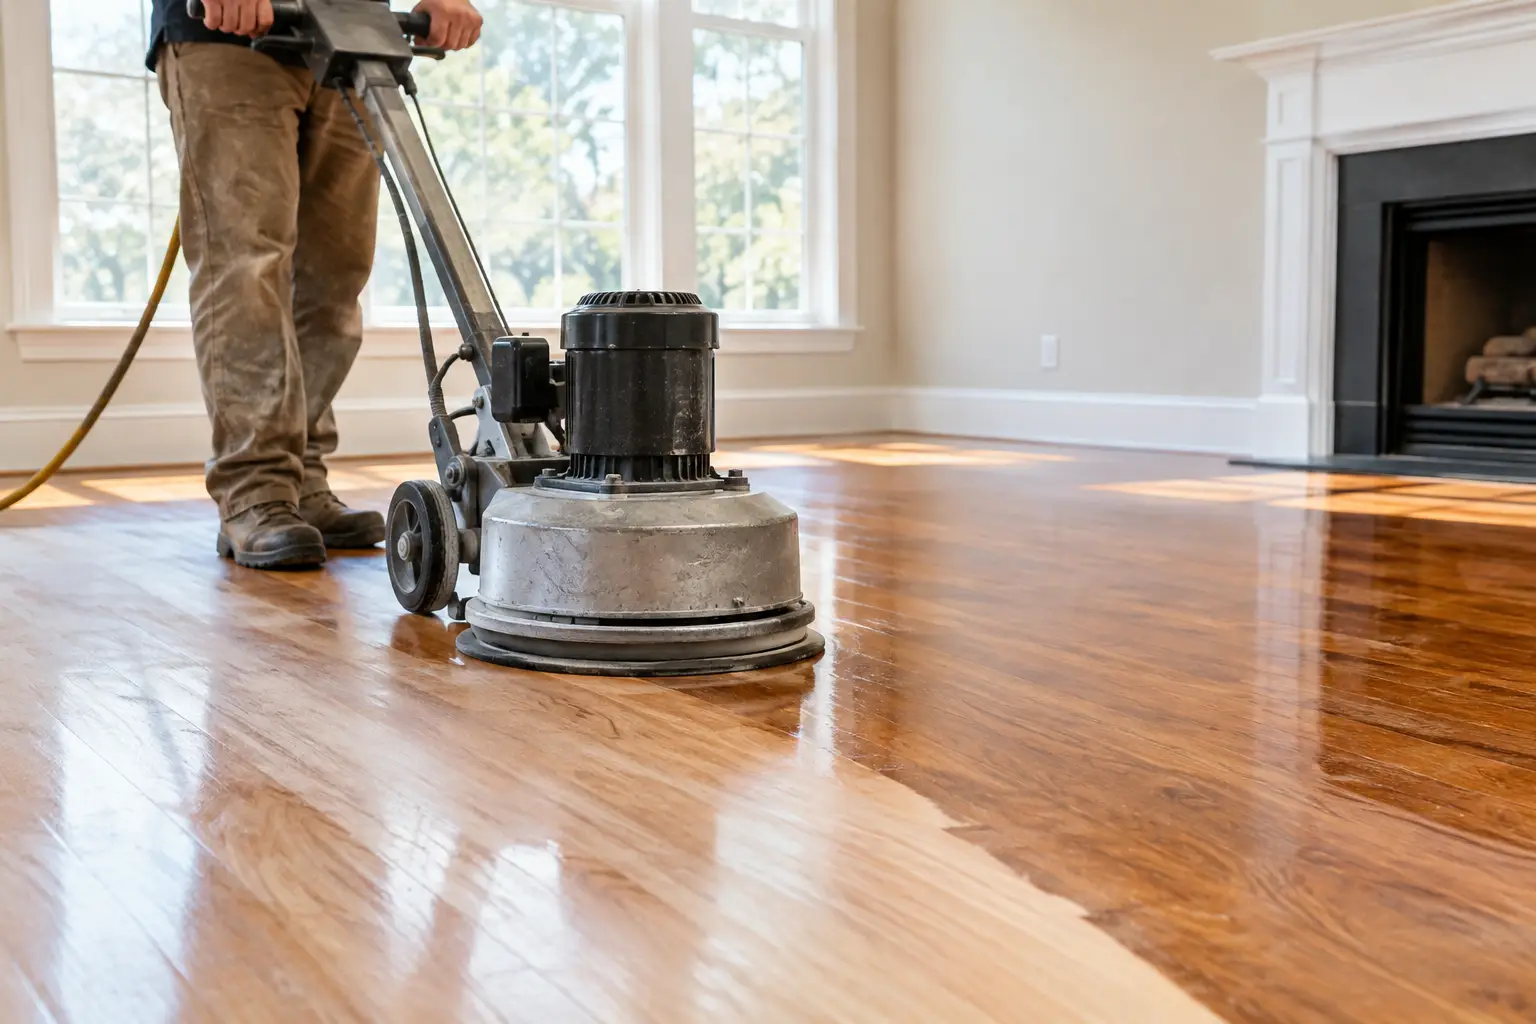
Historic floors need careful sanding, not aggressive leveling. Professional dust-controlled equipment improves cleanliness, but it does not replace judgment. The sanding sequence should remove failed finish and moderate damage while retaining board edges, texture, and thickness. Over-sanding can flatten the distinct character of old flooring and make repaired areas more conspicuous.
Not every floor should be stained. Many historic species develop exceptional color naturally, especially old-growth oak and heart pine. A clear or lightly toned finish often reveals more depth than a dark stain that obscures the grain. If color correction is needed after patches or sun fading, samples should be created on the actual floor before a decision is made.
Modern waterborne finishes are often a strong choice for occupied historic homes. High-quality very low VOC, Green Guard certified systems dry quickly, reduce lingering odor, and provide excellent protection without the heavy amber cast associated with some older finish technologies. That said, finish selection is not one-size-fits-all. A homeowner seeking a warmer, more traditional appearance may prefer a finish system that adds modest amber tone, while a pale maple or white oak floor may benefit from a clearer look.
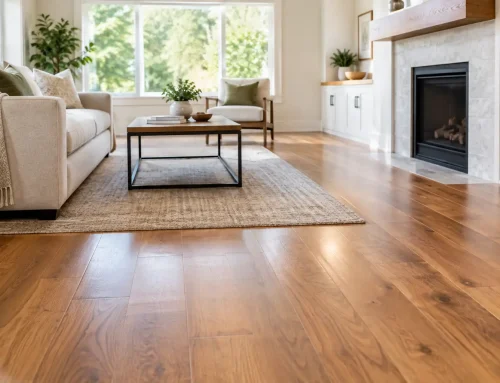
The sheen level deserves equal attention. Satin and matte finishes tend to suit historic interiors because they soften reflected light and make everyday scratches less noticeable than a high-gloss surface. They allow the wood, rather than the shine, to remain the focal point.
Plan for the Details Around the Floor
The difference between a basic refinish and a preservation-minded restoration is often found at the edges. Baseboards should be protected, vents removed and cleaned rather than finished around, and transitions planned so they do not interrupt the room’s proportions. Old square-headed nails, plugs, thresholds, and inlaid borders may deserve preservation rather than removal.
Older coatings also require caution. Paint at floor edges, adhesive beneath old coverings, and finishes in homes built before modern regulations may need testing before disturbance. This is not a minor administrative step. Proper identification protects the household and allows the work plan to be developed responsibly.
If the property is subject to local historic review, exterior materials are typically the greater concern, but interior alterations can still be relevant in certain landmarked homes or preservation agreements. Check the applicable requirements before making irreversible changes, especially when original flooring is a documented architectural feature.
Maintain the Floor After Restoration
A preserved floor stays beautiful through steady, uncomplicated care. Use mats at exterior entrances, felt pads beneath furniture, and a vacuum setting designed for hard surfaces. Clean spills promptly and avoid wet mops, steam cleaners, waxes, and oil soaps that can leave residues or introduce excess moisture.
Humidity control is equally important. Wood responds to seasonal moisture changes, so maintaining reasonably consistent indoor conditions reduces excessive gaps, swelling, and finish stress. In a historic home, that may involve improving ventilation, addressing basement dampness, or using humidification and dehumidification thoughtfully rather than trying to force the house into perfect stillness.
When traffic begins to dull the finish, a timely maintenance coat can delay the need for another sanding. This is one of the most effective ways to protect limited remaining wear layer on an antique floor.
A historic floor does not need to look frozen in time to honor the home. It needs skilled attention, sound materials, and a restoration plan that values what cannot be remade. For homeowners who want that balance of traditional craft and modern finish performance, Royal Oaks Flooring approaches every original board as part of the home’s lasting character.