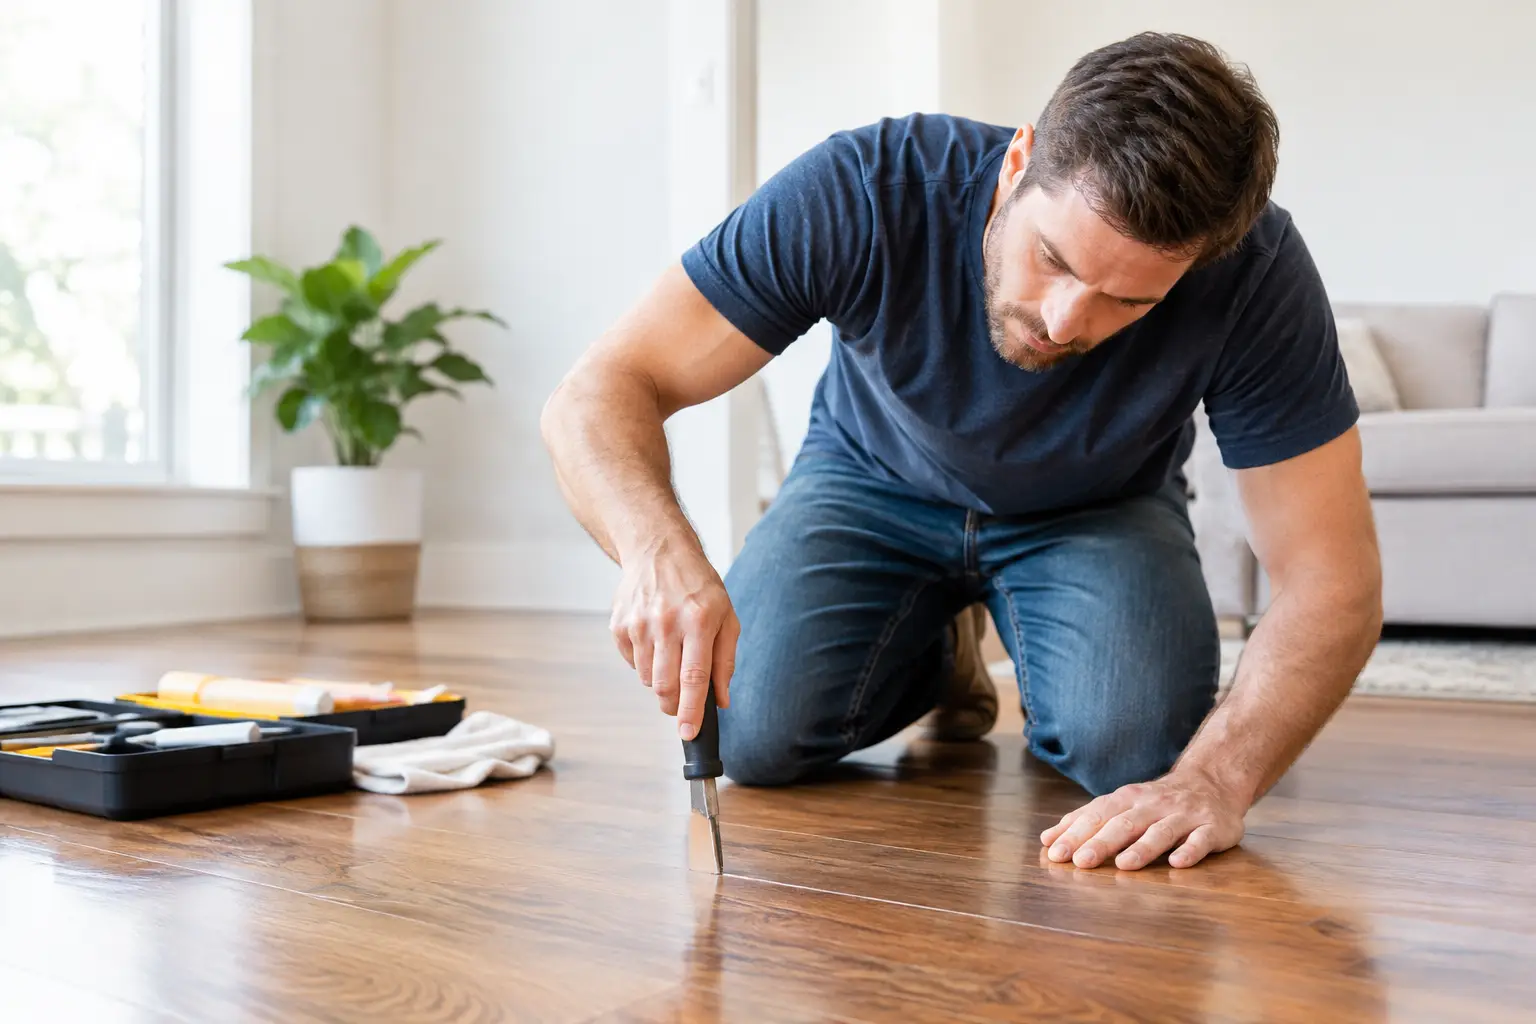
A beautiful hardwood floor can be milled precisely, finished flawlessly, and installed with exceptional care – then still develop gaps, cupping, or crowning if moisture conditions are ignored. This hardwood moisture testing guide explains the discipline behind a stable installation: measuring the wood, the subfloor, and the home before the first board is fastened.
For homeowners investing in wide-plank oak, reclaimed lumber, custom stains, or a restoration of an older floor, moisture testing is not a technical footnote. It is one of the clearest signs that a flooring professional is protecting the work for the long term.
Why Moisture Testing Matters Before Hardwood Installation
Wood is hygroscopic, meaning it takes on and releases moisture in response to its surroundings. As its moisture content changes, wood expands and contracts primarily across its width. That movement is natural. The problem begins when flooring is installed before the material, subfloor, and indoor environment have reached a compatible condition.
If boards contain too much moisture when installed in a dry home, they can shrink as they dry, leaving noticeable gaps. If dry flooring is installed over a damp wood subfloor or concrete slab, it can absorb moisture from below and cup at the edges. Excessive moisture can also weaken fastener holding power, compromise adhesives, create finish concerns, and encourage mold growth where conditions allow.
The D.C. Metro region and Maryland’s Eastern Shore make this especially relevant. Humid summers, dry heated winters, older homes with variable crawlspaces, and renovation schedules that introduce fresh plaster or paint can all affect a floor’s moisture balance. Hardwood does not respond to the calendar. It responds to the conditions around it.
The Hardwood Moisture Testing Guide: What Must Be Measured
A professional assessment considers more than the flooring planks. Each component can introduce or hold moisture, and each deserves its own method of testing.
The hardwood flooring itself
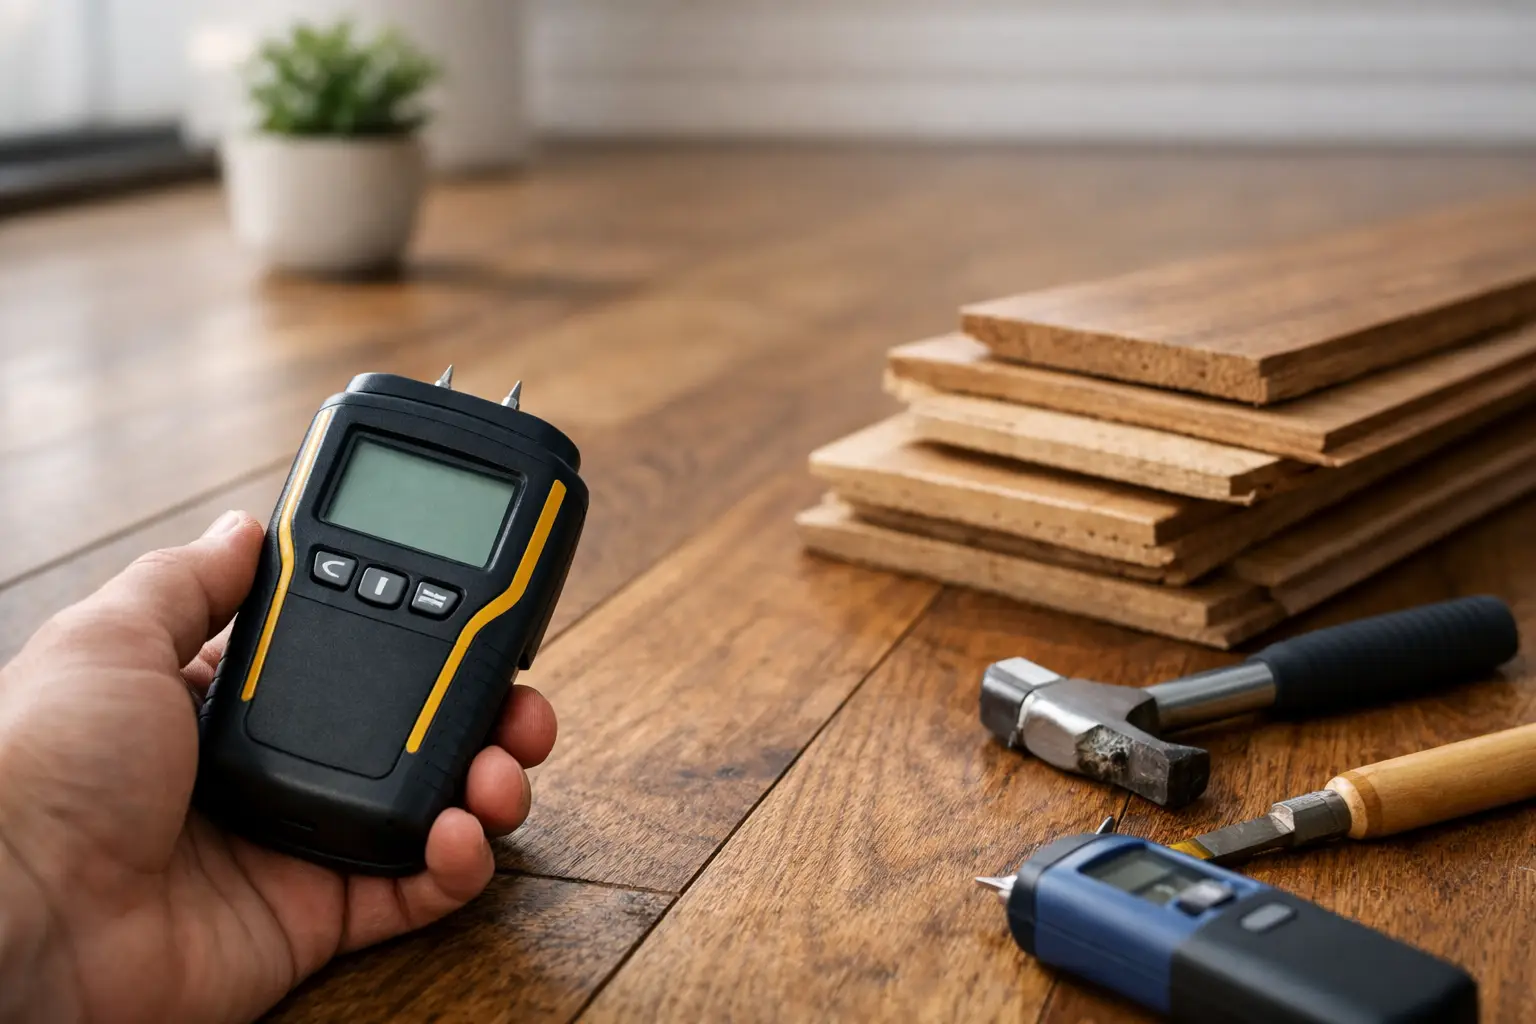
Every bundle of solid hardwood should be checked with a moisture meter. Readings should be taken from multiple boards and from different areas of the delivery, not simply one board near the top of a stack. Material stored against an exterior wall, near an open doorway, or at the center of a tightly wrapped pallet may read differently.
The goal is not to find one perfect number. It is to establish a reliable range and determine whether the wood is approaching its expected equilibrium moisture content for the occupied home. In many conditioned homes, hardwood commonly settles within a moisture range of roughly 6 to 9 percent, though the appropriate target depends on regional climate, season, species, and the homeowner’s planned indoor humidity.
Wood subfloors
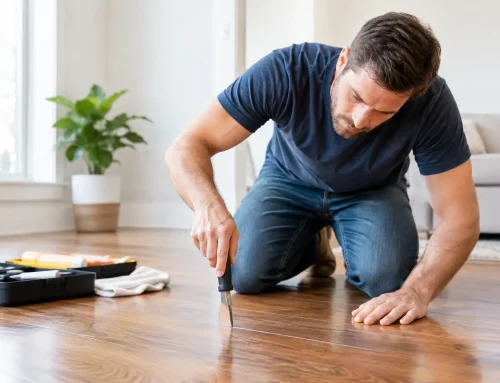
Plywood and oriented strand board subfloors must be dry, sound, and properly fastened before hardwood installation. A meter reading taken across the room helps identify localized concerns, such as moisture near exterior doors, kitchen plumbing, foundation walls, or a previously wet area.
As a general installation guideline, narrower solid-strip flooring is often installed when its moisture content is within 4 percentage points of the wood subfloor. For boards 3 inches wide and wider, a difference of 2 percentage points or less is commonly preferred. Wide planks have more surface area and more potential movement, so they demand tighter control. Manufacturer instructions always take priority, particularly with specialty products and engineered flooring.
Concrete slabs
Concrete does not become moisture-neutral simply because it looks dry. A slab can release water vapor long after it has cured, and surface-only readings do not reveal how much moisture is moving through it. This is why professional installers use approved concrete moisture tests, often relative humidity probes placed within the slab or calcium chloride testing where appropriate.
The selected flooring and adhesive system determine which test is required and what result is acceptable. A premium engineered floor may be suitable over concrete with an approved vapor-control system, while a solid hardwood floor may require a different construction approach altogether. Treating all concrete slabs alike is a costly shortcut.
The room conditions
Testing the space is just as important as testing the materials. Indoor temperature and relative humidity should be measured and documented before and during installation. The home should be enclosed, with permanent HVAC operating under normal living conditions. Windows, exterior doors, roofing, and wet trades should be complete.
A new furnace running at high heat for a few days is not the same as a home that has been conditioned consistently. Likewise, drying compound, paint, masonry work, or a recently installed kitchen can temporarily raise humidity inside the house. Flooring should enter a stable environment, not a jobsite still releasing construction moisture.
Choosing the Right Moisture Meter
Two types of wood moisture meters are commonly used. Pin meters use small probes that penetrate the wood to measure electrical resistance. They can provide highly useful readings at a selected depth, though the tiny pinholes are not ideal for visible finished surfaces. Pinless meters scan with an electromagnetic field and leave no mark, making them efficient for checking many boards quickly.
Neither tool is automatically superior in every situation. Pinless meters can be influenced by material thickness, density, and hidden fasteners. Pin meters require correct pin depth and good contact. A skilled installer understands the limitations of each method and may use both to verify questionable readings.
Species settings matter as well. Dense woods such as maple and hickory do not read exactly like red oak. Reclaimed material adds another layer of judgment because old boards may have varied densities, prior fastener holes, surface oxidation, or hidden repairs. A meter is only as useful as the person interpreting the result.
Acclimation Is a Process, Not a Number of Days
Homeowners often hear that hardwood needs to acclimate for three, five, or seven days. That advice can be misleading. Acclimation is not complete because a certain number of days has passed. It is complete when the material’s moisture content has stabilized appropriately for the conditions in which it will live.
Some flooring arrives close to the correct moisture content and may require little adjustment once it is properly stored in a conditioned home. Other material, especially thick wide planks or lumber delivered from a very different climate, may need more time. Opening cartons, spacing bundles appropriately, and allowing airflow can help, but only when the home itself is stable.
There is also a trade-off. Leaving solid hardwood on a damp jobsite for an extended period does not improve acclimation. It can cause the flooring to gain excess moisture. The correct approach is measured, not rushed and not passive.
Reading the Warning Signs Before They Become Damage
A moisture test should prompt questions, not just produce a pass-or-fail mark. Large variation between board readings may indicate uneven storage or material that needs further conditioning. A damp subfloor near one wall can point to an exterior drainage, plumbing, crawlspace, or foundation issue that must be corrected before flooring covers it.
Pay close attention when readings differ significantly from room to room. A sunroom, basement-level addition, bathroom-adjacent hallway, or historic home with unconditioned sections can behave differently from the rest of the house. In these spaces, the flooring plan may need a more substantial vapor-control strategy, a different product, or a change in installation method.
Do not rely on visual inspection alone. Dark staining, a musty odor, or a visibly damp surface certainly warrants investigation, but moisture can be present without any obvious clue. Conversely, an old water stain may be dry today. Measurements help distinguish a historical mark from an active condition.
What a Careful Installer Documents
For a high-value hardwood project, moisture documentation is part of professional preparation. It provides a clear record of flooring moisture content, subfloor or concrete test results, indoor temperature, and relative humidity. It also establishes whether the home was suitably conditioned at the time of installation.
This record protects the homeowner as much as the installer. It creates a practical baseline if seasonal movement appears later, and it supports informed decisions when conditions are not ready. Delaying an installation can be frustrating, especially during a renovation, but installing expensive flooring over unresolved moisture is far more disruptive.
At Royal Oaks Flooring, this kind of preparation reflects the same craft standard applied to layout, sanding, stain development, and finish work. A floor should be beautiful on installation day, but it should also be built to remain beautiful through the seasons.
Maintaining Stable Conditions After Installation
Moisture management continues after the final coat has cured. Keep indoor relative humidity within a moderate, consistent range whenever practical, often around 35 to 55 percent. In winter, a humidifier may reduce excessive shrinkage and dry gaps. During humid months, air conditioning or dehumidification can limit expansion.
A few seasonal gaps in solid hardwood are often normal, particularly in homes that experience pronounced changes in indoor humidity. Persistent cupping, widespread gaps, buckling, or changes concentrated near an appliance or exterior wall are not normal seasonal behavior. They deserve a prompt inspection before a minor moisture source becomes a larger repair.
The finest hardwood is still a natural material. Give it a dry, stable foundation and a carefully controlled indoor environment, and it will repay that preparation with decades of warmth, character, and quiet permanence.