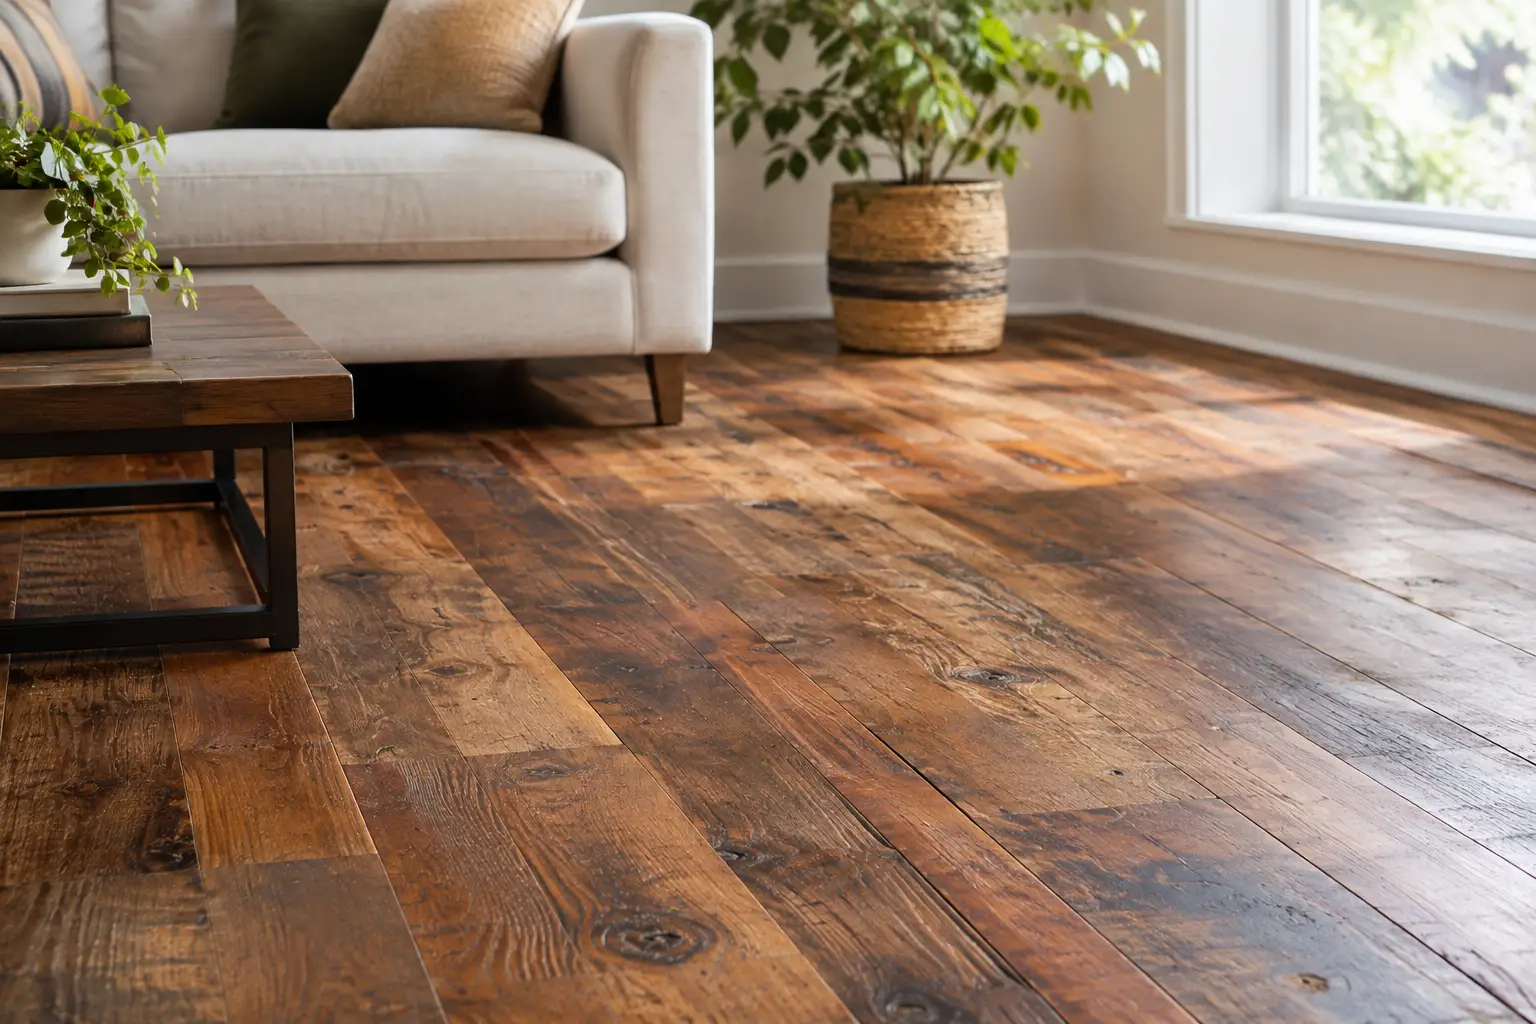
A century-old floor does not need to look brand new to be beautiful. Its tight grain, hand-cut boards, softened edges, and the quiet evidence of generations are often the very reasons a homeowner wants to save it. Learning how to restore antique flooring begins with a shift in perspective: the goal is not to erase every mark. It is to stabilize the wood, reveal its natural depth, and give it the protection to serve the home for many more years.
For historic homes in Maryland, Washington, D.C., and Northern Virginia, this work calls for restraint as much as skill. Antique flooring can be remarkably durable, but it has already lived through seasonal movement, past repairs, changing humidity, and perhaps several rounds of refinishing. A careful process protects what cannot be replaced.
Start With an Honest Assessment
Before choosing a stain color or renting a sander, determine what is actually underfoot. Antique floors may be solid oak, heart pine, maple, chestnut, fir, or another species that is uncommon or difficult to match today. Board widths, nail patterns, milling marks, and even the direction of the grain can offer clues about the floor’s age and construction.
The most important question is whether the boards have enough usable thickness for refinishing. Solid hardwood can often be sanded more than once, but every sanding removes material. Floors with deep cupping, worn edges, exposed tongue-and-groove joints, or very thin boards require a lighter touch. In some cases, a full sanding is the wrong choice; targeted repairs and a careful screen-and-recoat may preserve far more of the original material.
Look beyond the surface as well. Persistent gaps, bouncing, or broad areas of movement may point to subfloor concerns. Dark staining can indicate old pet damage, water intrusion, or iron reactions from moisture and fasteners. A floor that looks merely tired can sometimes be renewed easily, while one that appears sound may conceal structural problems below.
Know What Deserves to Stay
Not every irregularity is damage. Small knots, color variation, old nail holes, patches from a long-removed radiator, and slight undulation can all belong to the floor’s character. Attempting to make antique boards perfectly uniform can leave them looking flat and overworked.
That does not mean accepting active damage. Loose boards, splinters, failed repairs, insect damage, moisture issues, and finish failure should be addressed. The distinction is simple: preserve evidence of age, but correct conditions that threaten performance or safety.
Repair Before You Refinish
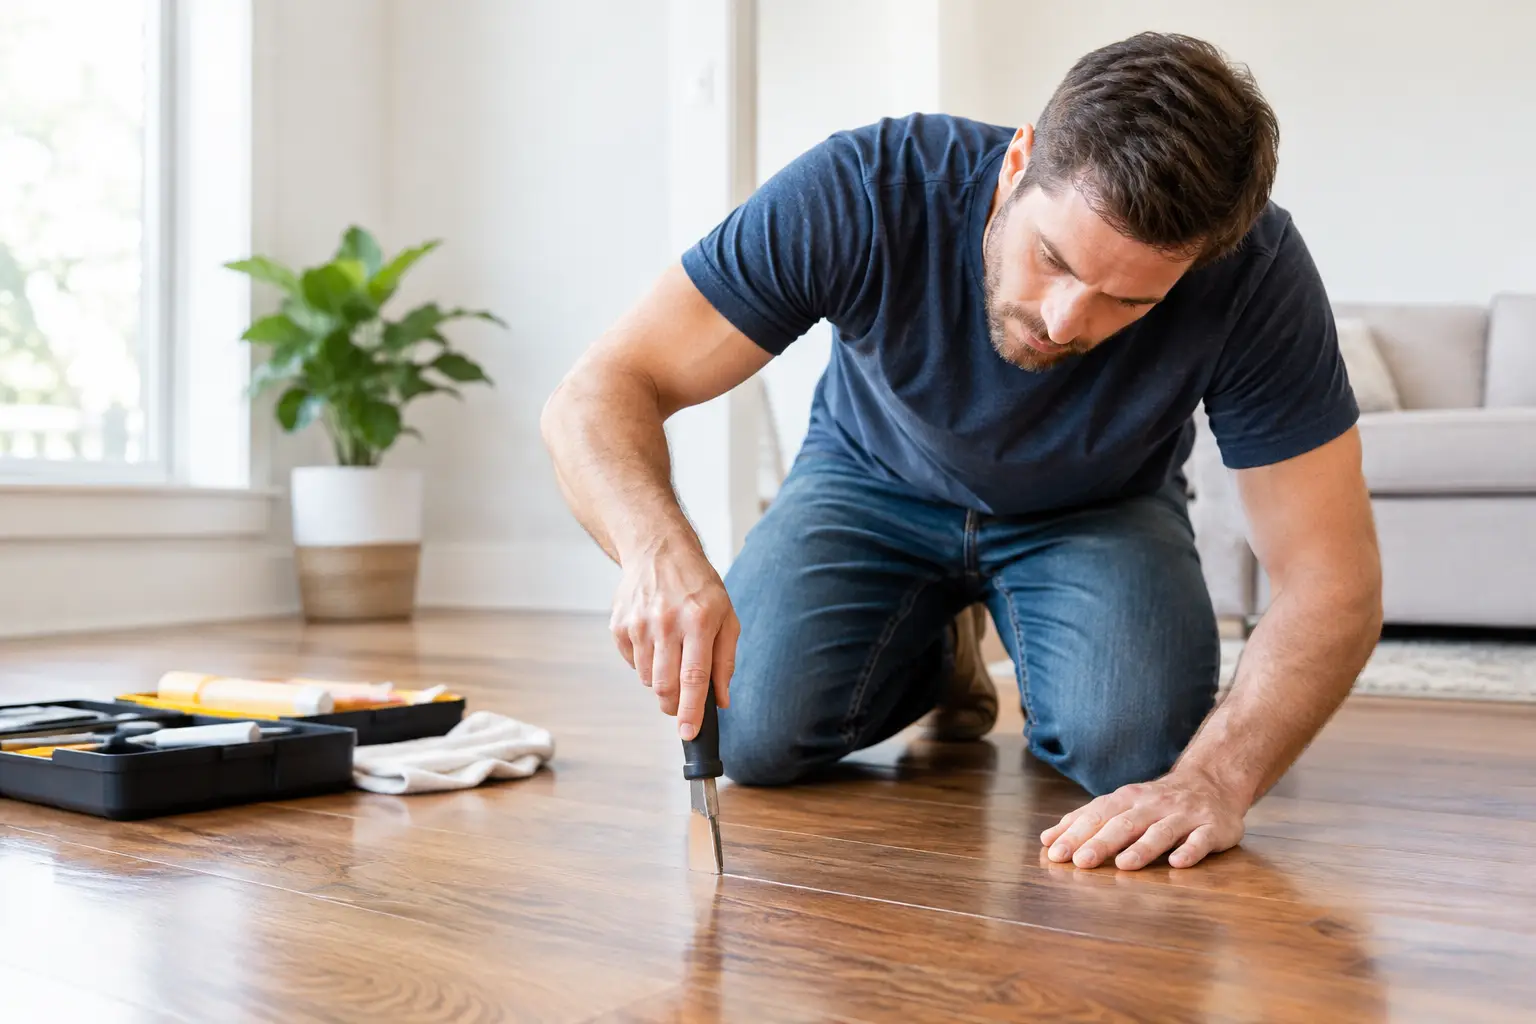
A lasting restoration starts with sound wood. Loose boards should be secured in a way that respects the original layout, often with carefully placed fasteners and plugs rather than conspicuous modern repairs. Where boards are split beyond repair or missing, replacement material should match the existing species, width, thickness, grain, and milling profile as closely as possible.
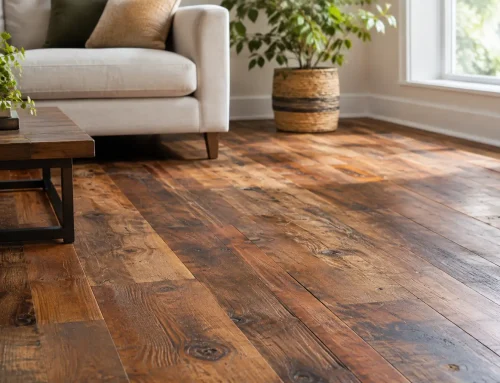
This is where reclaimed lumber can be especially valuable. A new board may be technically correct but still look out of place beside old-growth material. Reclaimed wood often carries a similar density, grain pattern, and natural variation, allowing a repair to blend gradually into the surrounding field. Even then, a good repair does not always disappear immediately. Wood ages at its own pace, and some difference in tone is honest.
Gaps deserve equally careful judgment. Seasonal gaps are common in older floors, especially in homes that experience dry winter air. Filling every gap with a rigid product can create future problems when the boards expand. Narrow, stable gaps may be filled during restoration, while larger or seasonal gaps are often better left alone or addressed with a flexible, appropriate material after the moisture conditions of the home are evaluated.
If there is any sign of ongoing water exposure, solve the source first. Refinishing over moisture damage is temporary at best. Check nearby plumbing, exterior drainage, crawlspace conditions, and indoor humidity before investing in the finish work.
How to Restore Antique Flooring With Minimal Material Loss
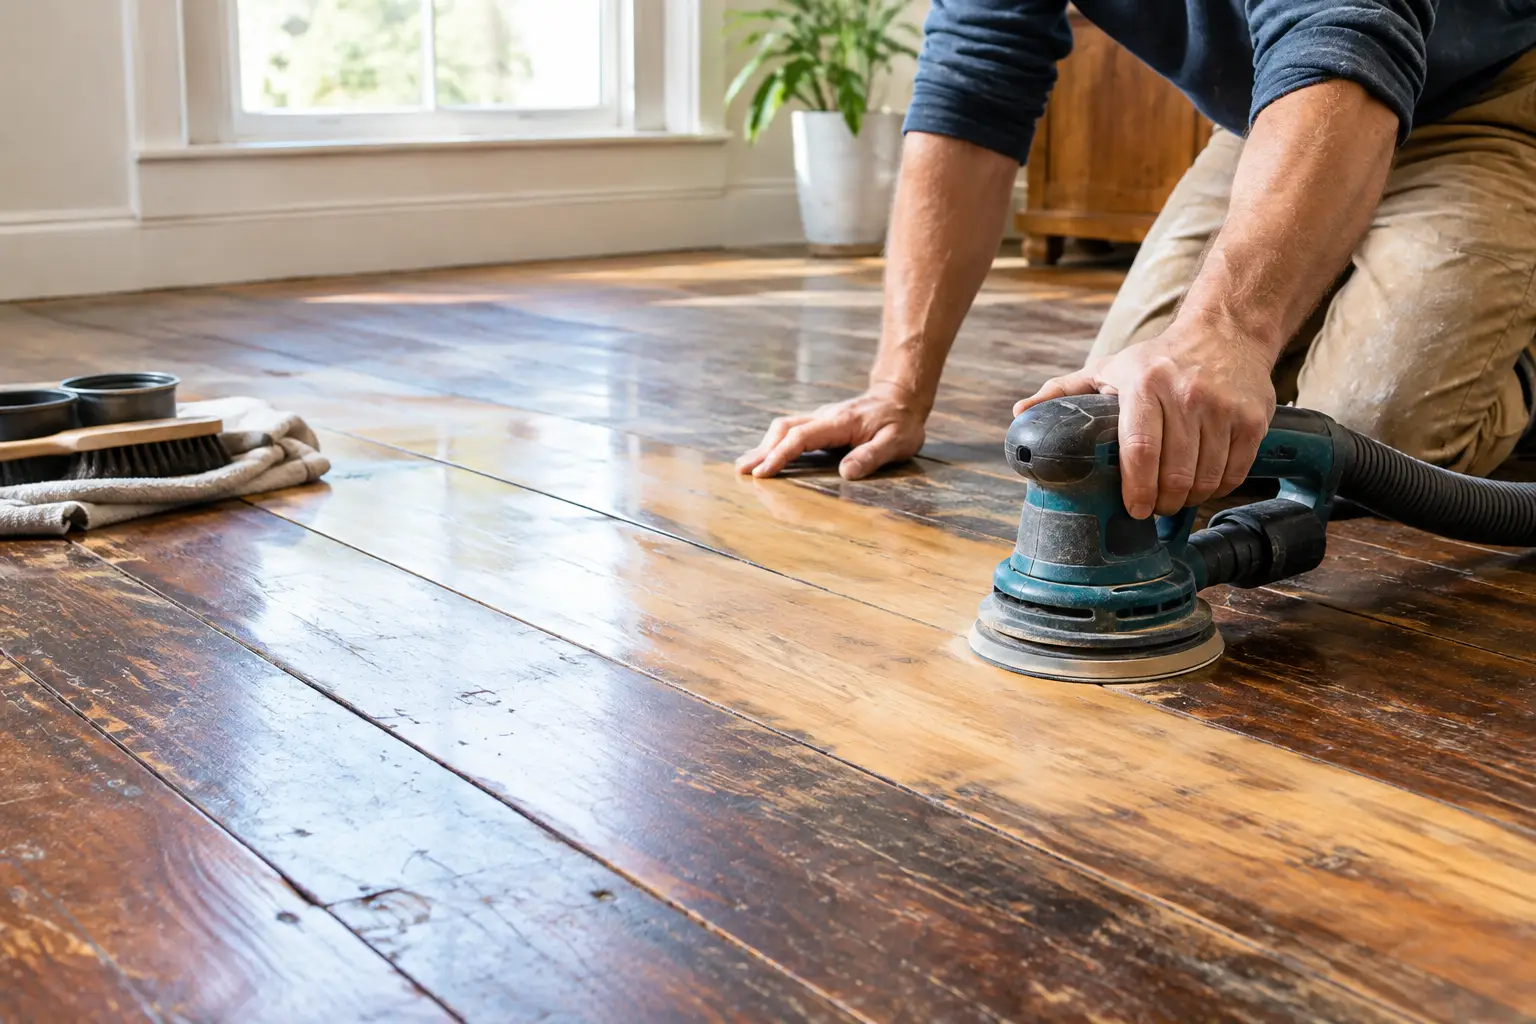
Sanding is the point where good intentions can do permanent harm. Antique boards are not candidates for aggressive, high-speed sanding simply because a modern floor might tolerate it. The objective is to remove failing finish and surface contamination while retaining as much original wood as possible.
A skilled refinisher begins with the least aggressive approach that will work. This may include testing a small area, identifying wax or old coatings that can interfere with adhesion, and selecting the grit sequence according to the floor’s condition. Uneven boards may call for localized handwork rather than repeatedly passing a large machine across the entire room.
Edges and corners require special discipline. These areas are often thinner than the center of the floor because they have been sanded heavily in previous refinishing projects. Likewise, old tongue-and-groove boards can be damaged if sanding cuts too deeply near the joints. Once the tongue is compromised, boards become more vulnerable to cracking and movement.
For floors with a sound finish but dull traffic paths, screening and recoating can be an excellent alternative. This process lightly abrades the existing finish so a new protective coat can bond. It will not remove deep stains or flatten major imperfections, but it can restore clarity and protection without sacrificing precious wood thickness.
Test Stain on the Actual Floor
Stain should enhance the species, not disguise it. Old pine, oak, and maple each absorb color differently, and centuries of sunlight can create color variation within the same room. A sample on leftover lumber is useful, but a test area on the actual floor is more reliable.
Many antique floors are at their best with a clear or lightly toned finish that allows the grain and natural patina to remain visible. Dark stains can create drama, but they also emphasize sanding marks, gaps, and future scratches. Very pale or gray-toned treatments can feel contemporary, yet they may fight the warmth of a historic interior. The right choice depends on the home’s architecture, the surrounding millwork, and whether the priority is historical continuity or a more updated design direction.
Choose a Finish for Daily Life, Not Just the First Week
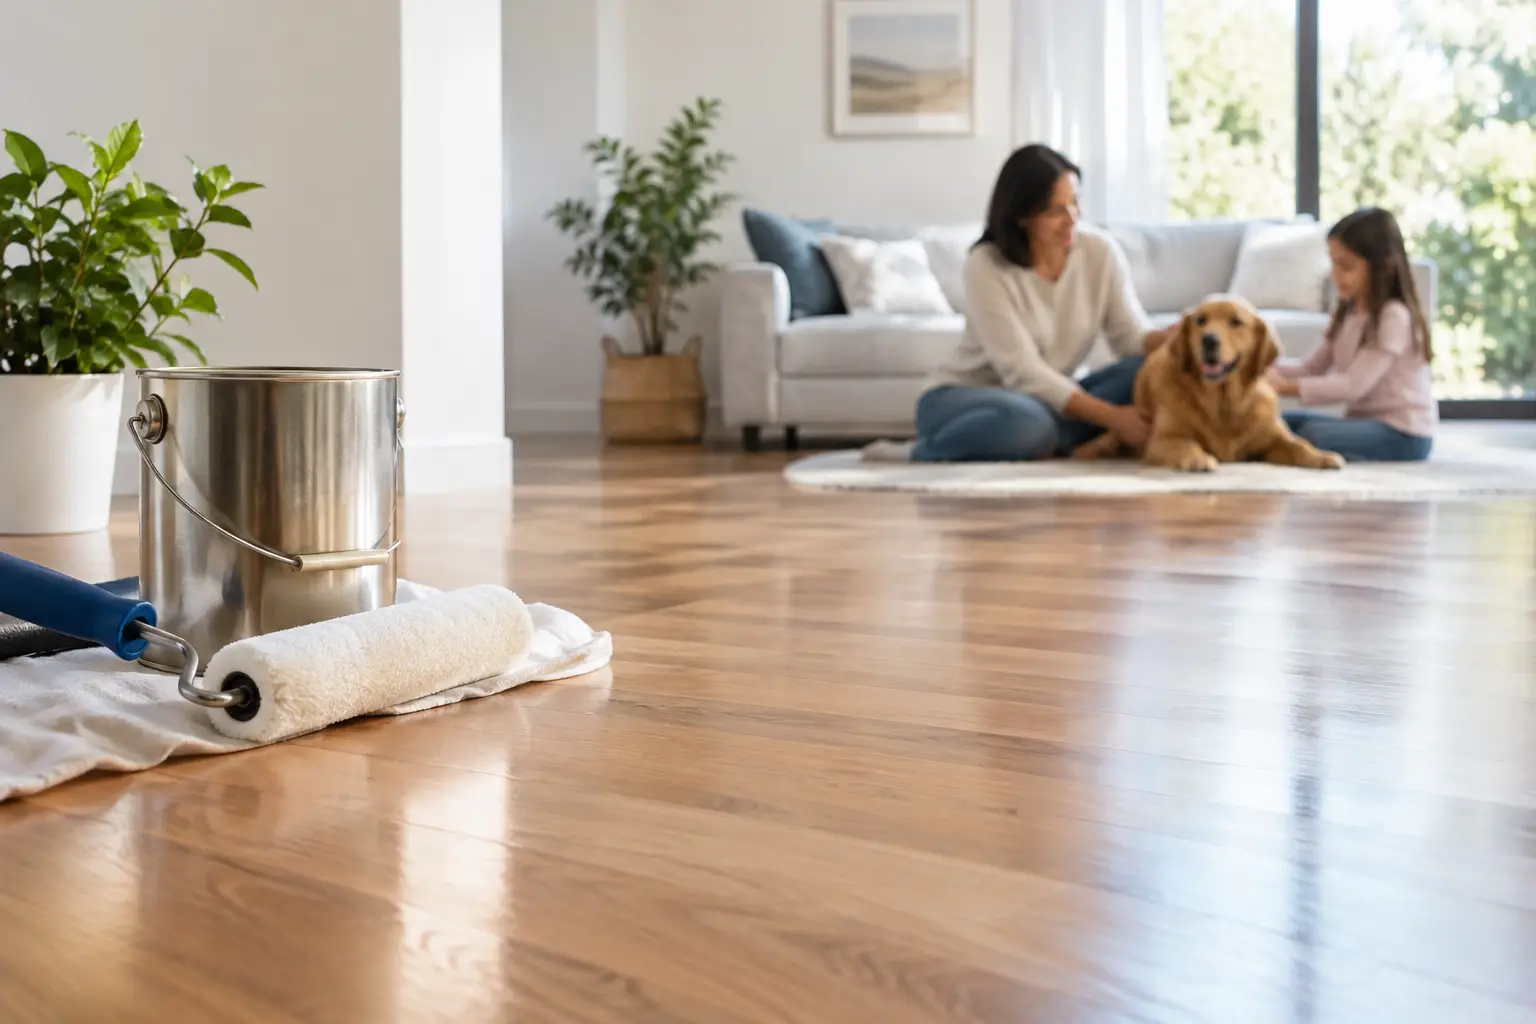
A finish is the floor’s working surface. It should suit the household as well as the wood. Modern waterborne finishes offer excellent clarity, fast curing, and lower odor than many traditional solvent-based systems. High-quality, very low-VOC options can also support healthier indoor air quality while allowing families to return to their rooms sooner.
Oil-based finishes can add a warmer amber cast, which some homeowners prefer on older wood. They typically require more drying time and may deepen in color over time. Hardwax oils offer a natural, low-sheen appearance and can make spot repairs more approachable, but they demand a specific maintenance routine. There is no universally best finish; the better question is which finish matches the appearance you want and the care you are willing to provide.
For many antique floors, a satin or matte sheen is more forgiving than high gloss. Lower-sheen finishes soften the appearance of small scratches, dust, and variations in old boards while preserving a refined, understated look.
Protect the Floor Once the Work Is Done
Restoration is not a one-time event. A few thoughtful habits can extend the life of the finish and postpone the need for another invasive refinishing project. Use mats at exterior doors, felt pads beneath furniture, and protective runners in high-traffic passages. Clean grit promptly with a soft broom or vacuum designed for hard surfaces, since fine sand acts like sandpaper under shoes.
Avoid soaking the floor with water or using steam cleaners. Antique boards respond to moisture more readily than many modern products, and water can work into seams, dull the finish, or cause movement. Maintain relatively consistent indoor humidity through the heating and cooling seasons whenever possible.
When the finish begins to lose its protective layer, act before bare wood is exposed. Timely maintenance coats can preserve both the surface and the floor’s remaining thickness. For homeowners who want a restoration guided by the character of the house rather than a one-size-fits-all process, Royal Oaks Flooring approaches each floor as a piece of functional craftsmanship with a history worth protecting.
The finest antique floors do not look freshly manufactured. They look cared for: secure beneath your feet, rich in natural color, and ready for another generation of dinners, holidays, and ordinary days at home.